How to DIY Application
Boat Stripes uses quality vinyl for their computer-cut lettering, graphics and stripes. It remains colourful and sharp for years and is easily applied and removed. Below are two step by step presentations to help you achieve the best results. We will also include step by step instructions with your order.
Stripe & Arrowhead Demonstration
Clean the surface thoroughly with acetone or wax & grease remover (automotive product) or similar. Make pencil marks for position of guideline.
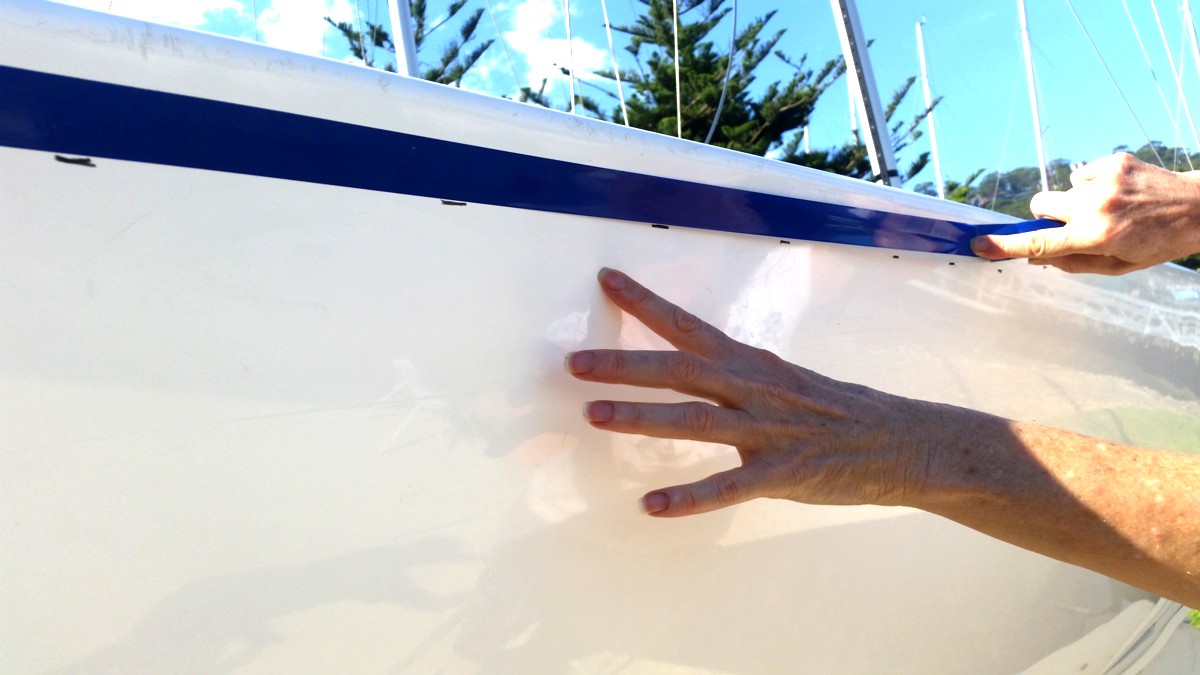
Apply masking tape along the pencil marks. This creates your guideline for positioning of the arrowhead and stripe
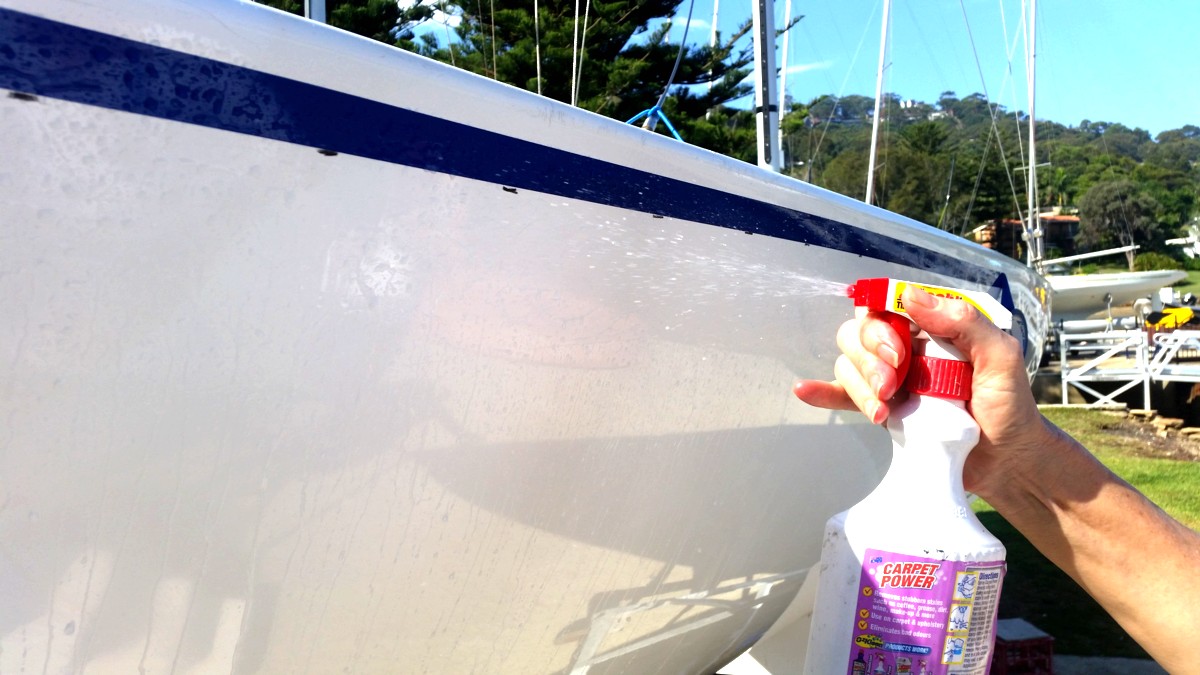
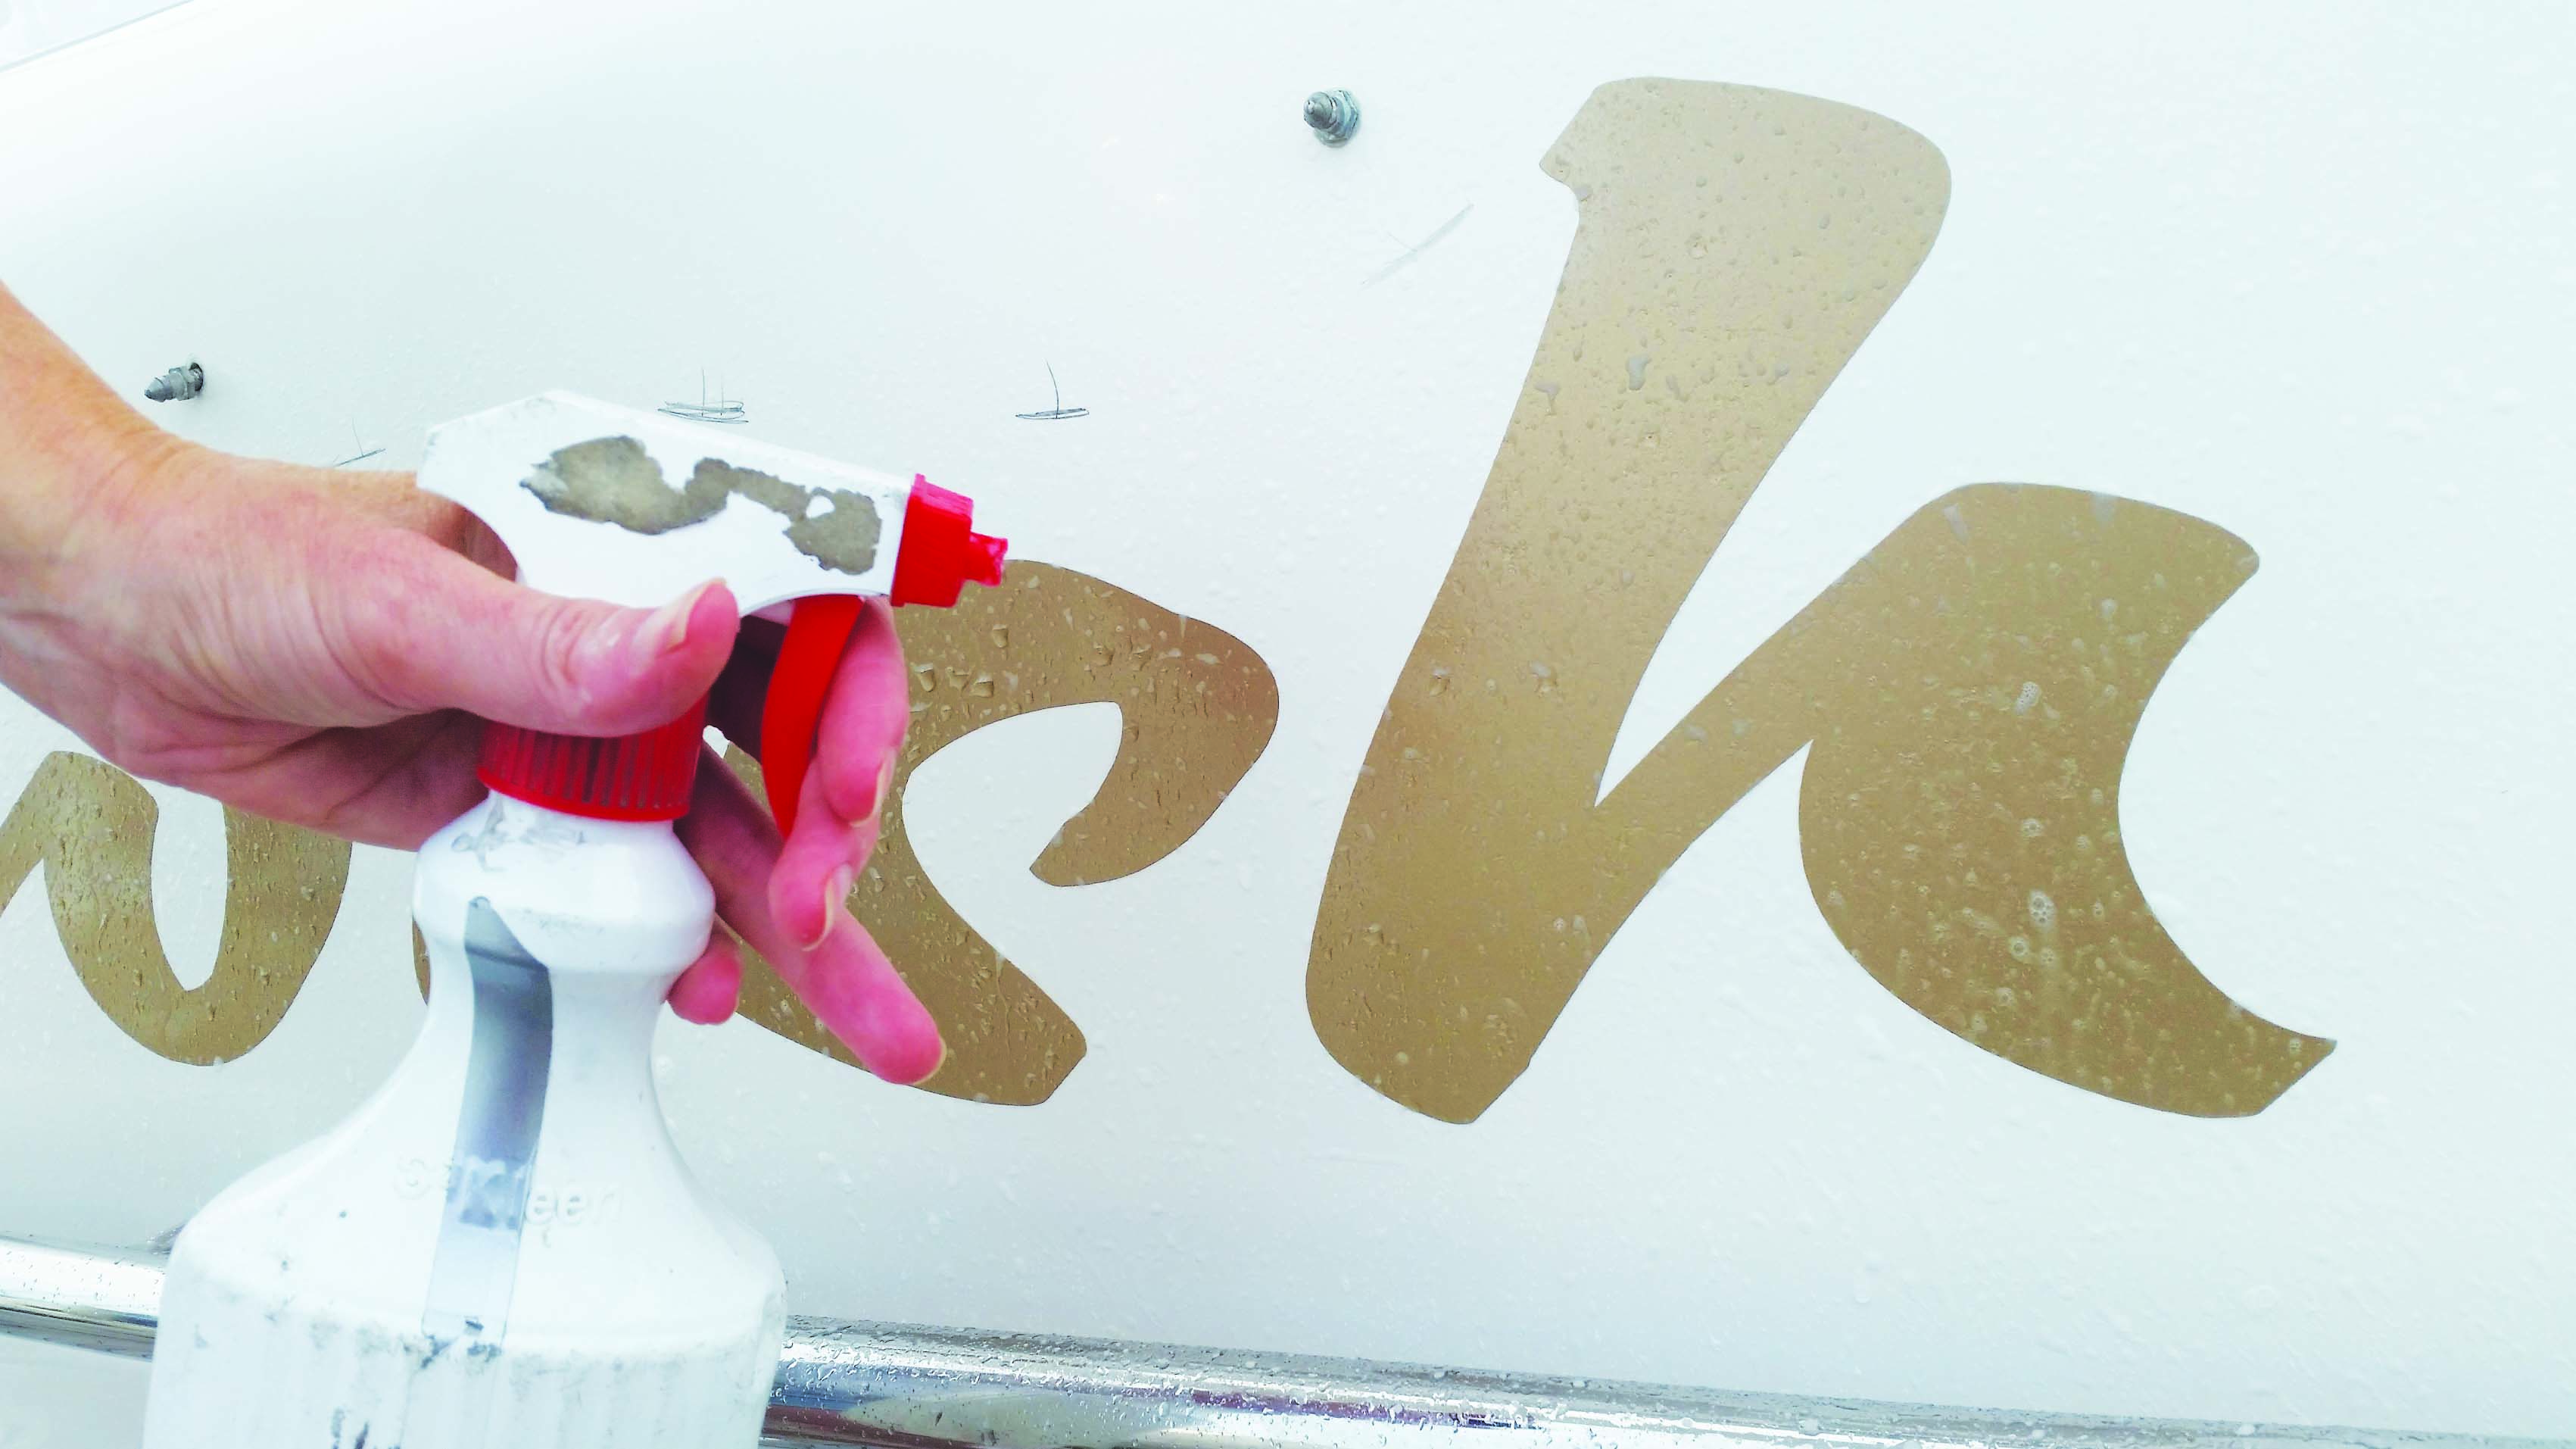
Spray the surface with water. This allows some movement of the vinyl until it is correctly positioned.
Using the guideline, position the arrowhead onto the surface. Then using a squeegee, press firmly, smoothing the vinyl onto the surface. Move from the middle to the outer edges.
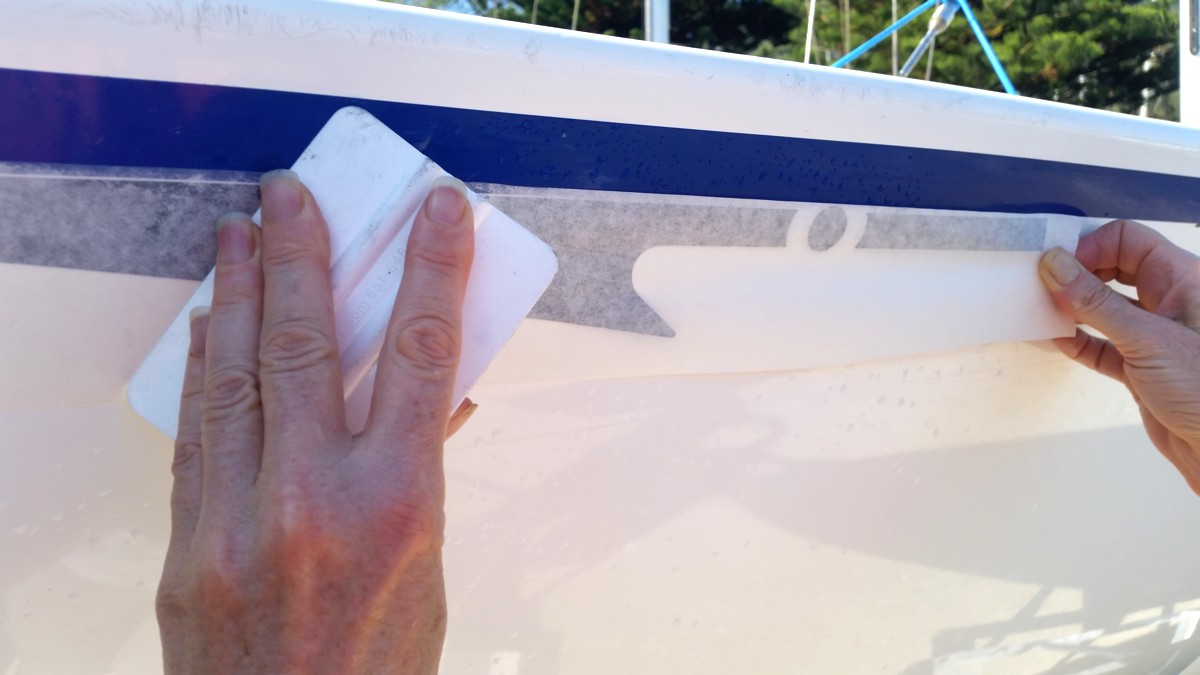
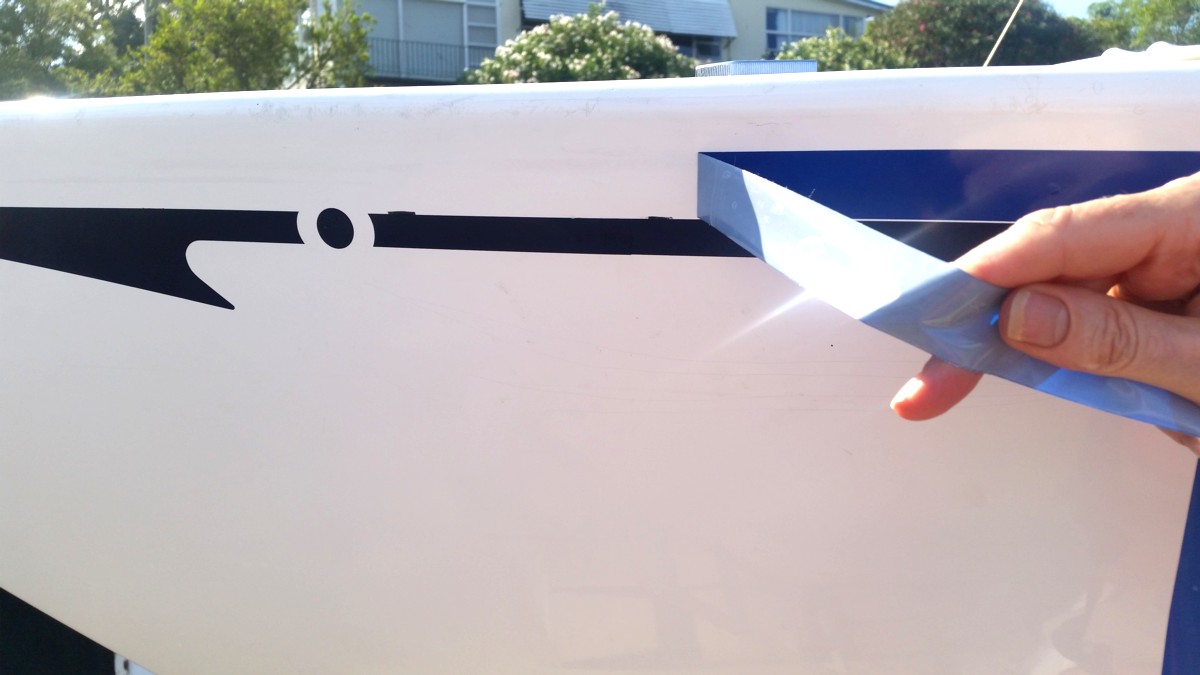
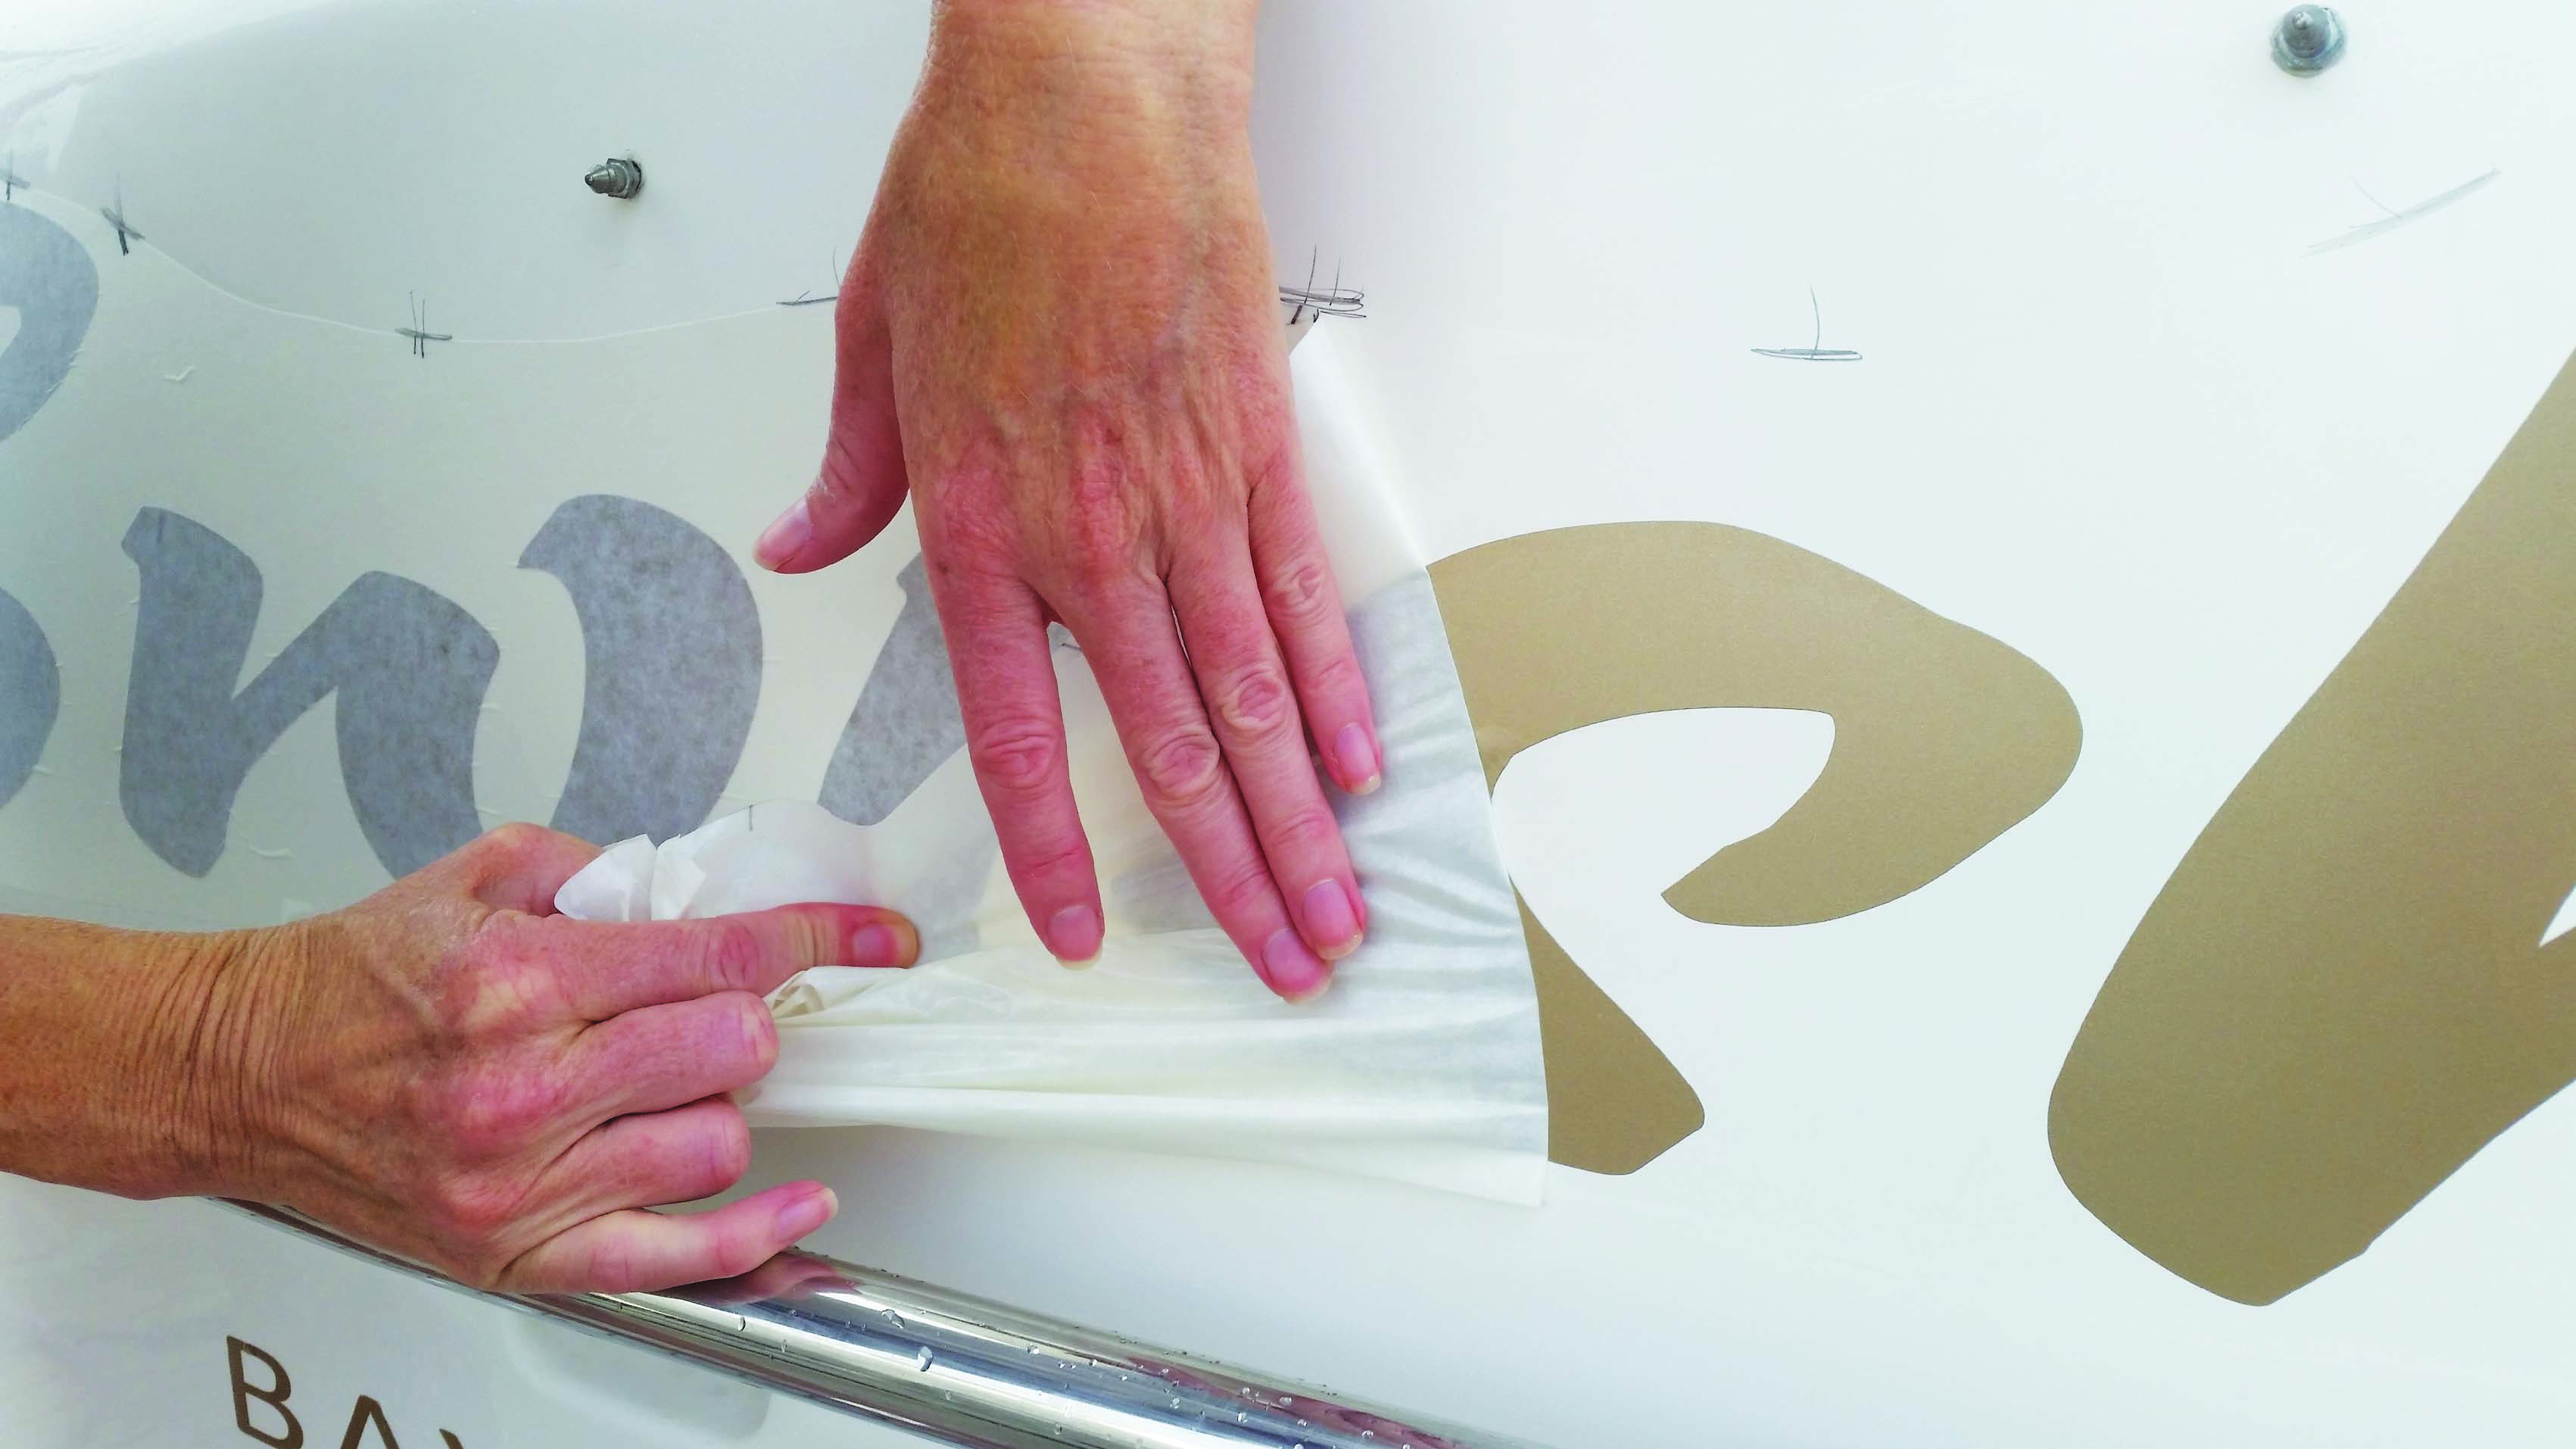
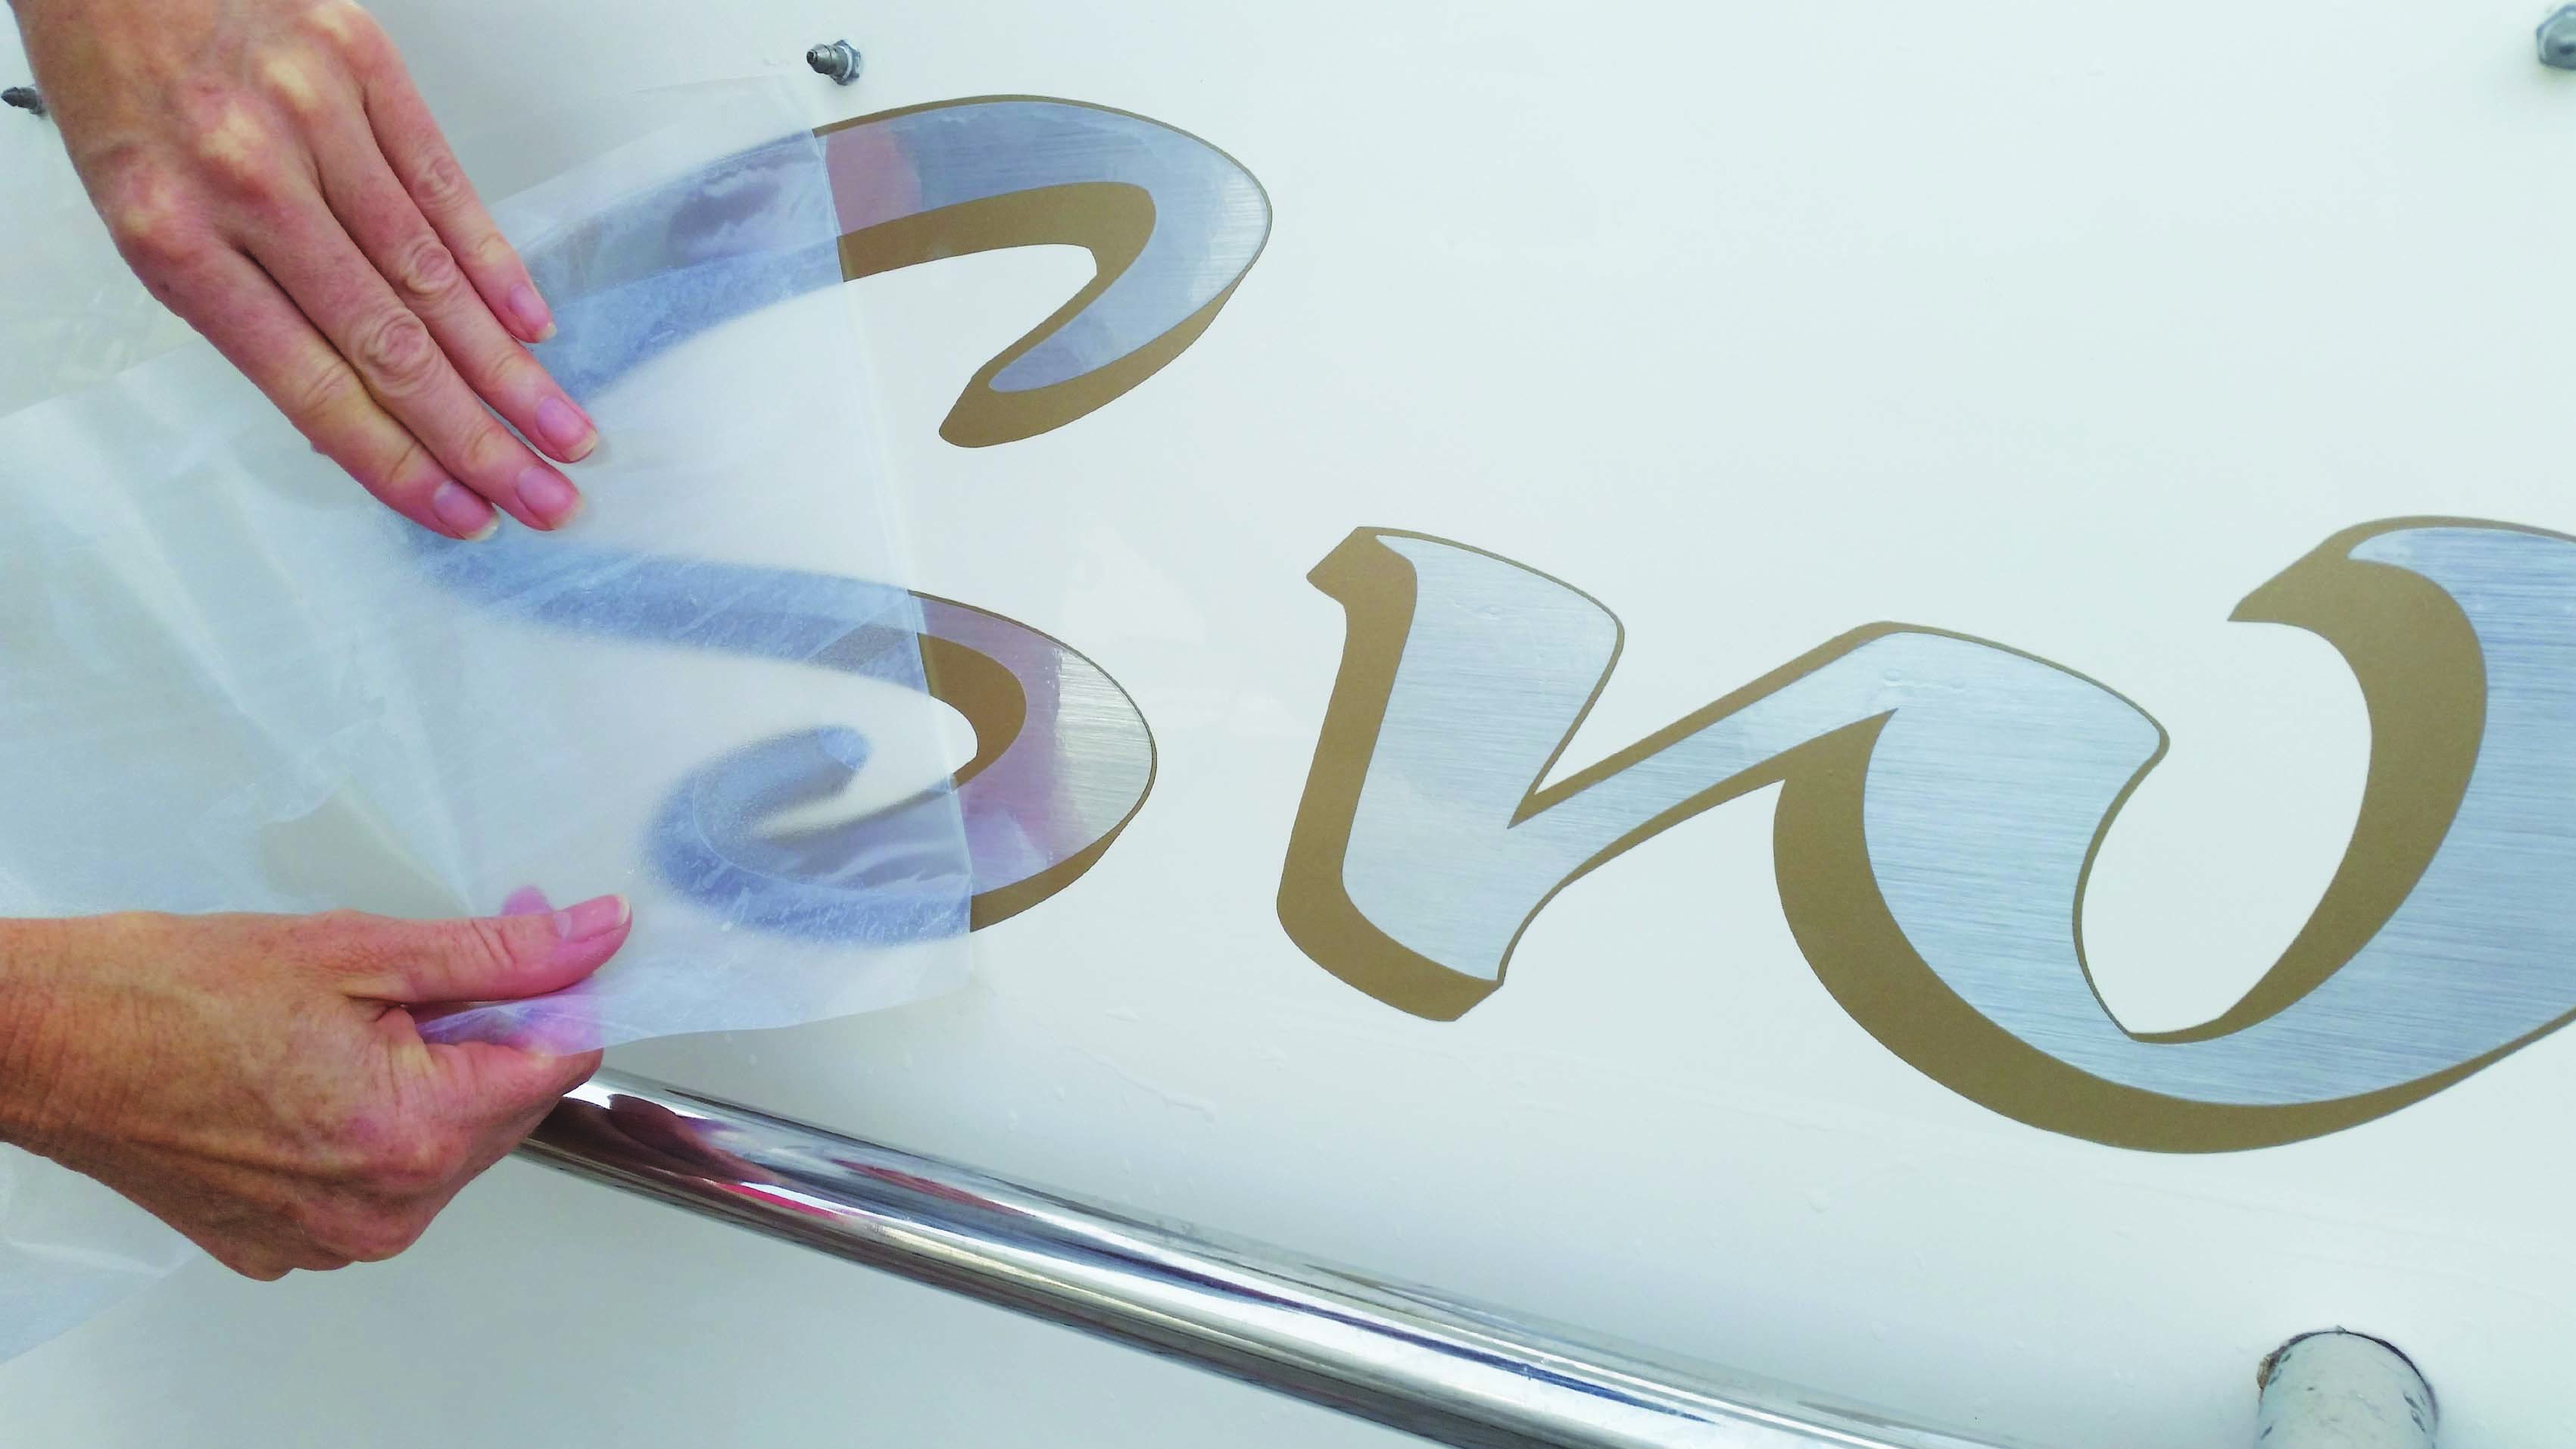
Remove the application material, pulling slowly.
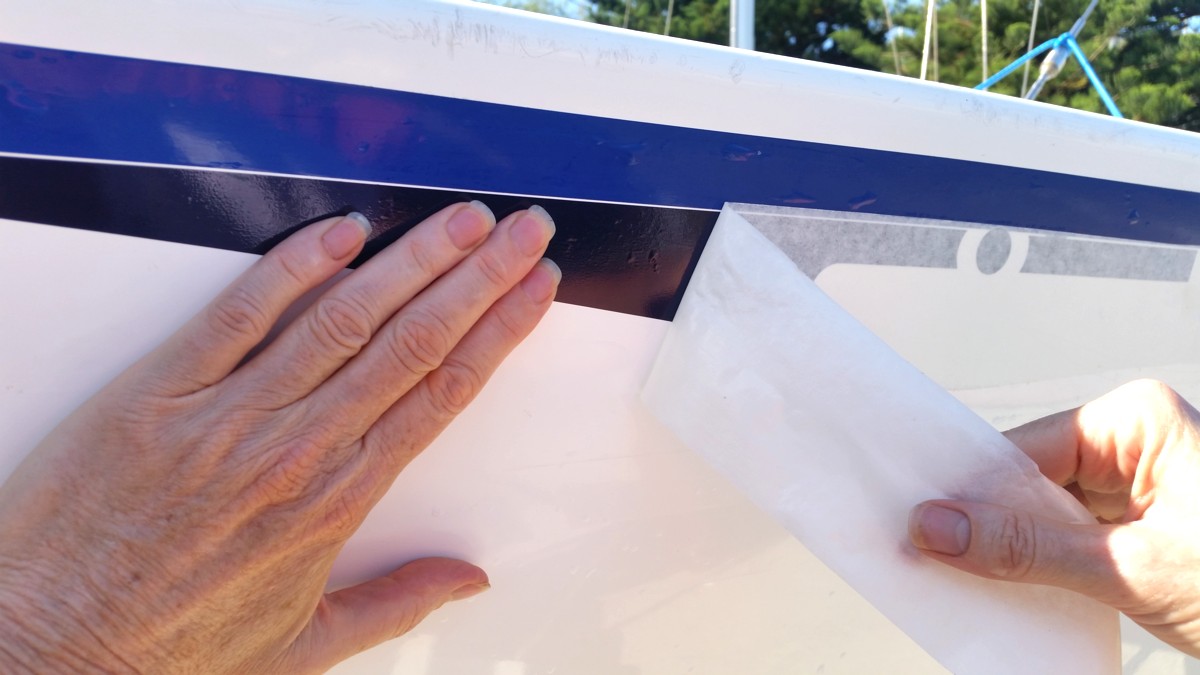
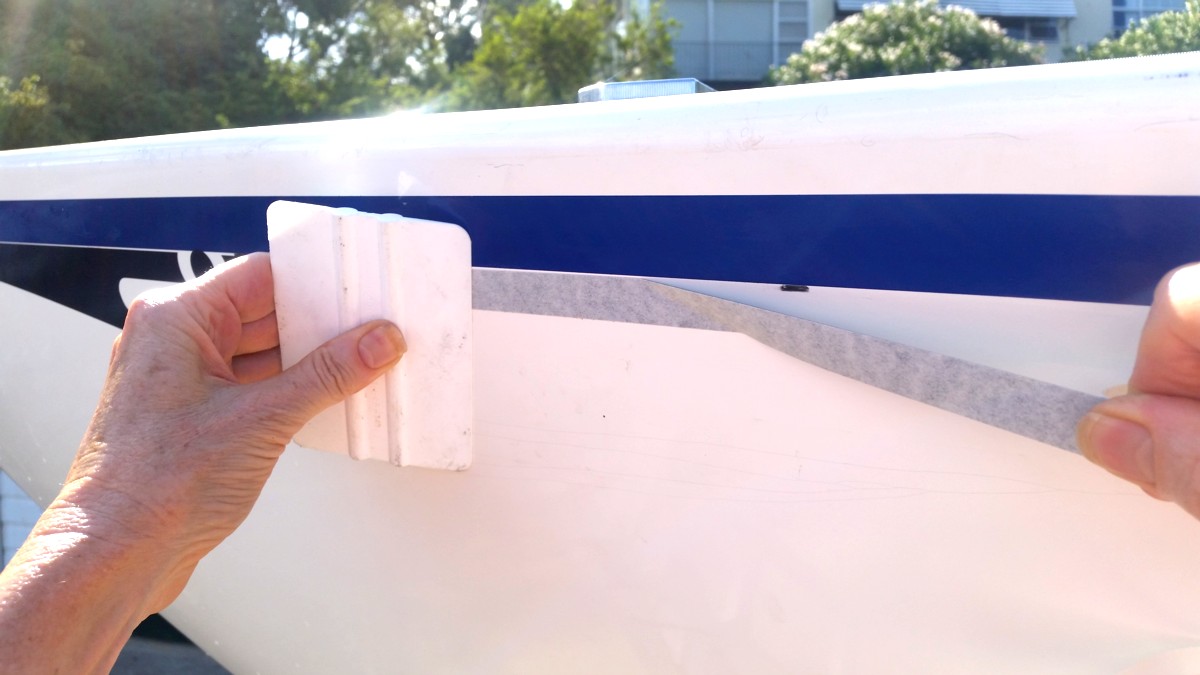
Repeat the application process with the stripe, overlapping the end of the arrowhead. Smooth firmly in place.
Remove the application material from the stripe and neatly trim the arrowhead and stripe creating a near-invisible seam.
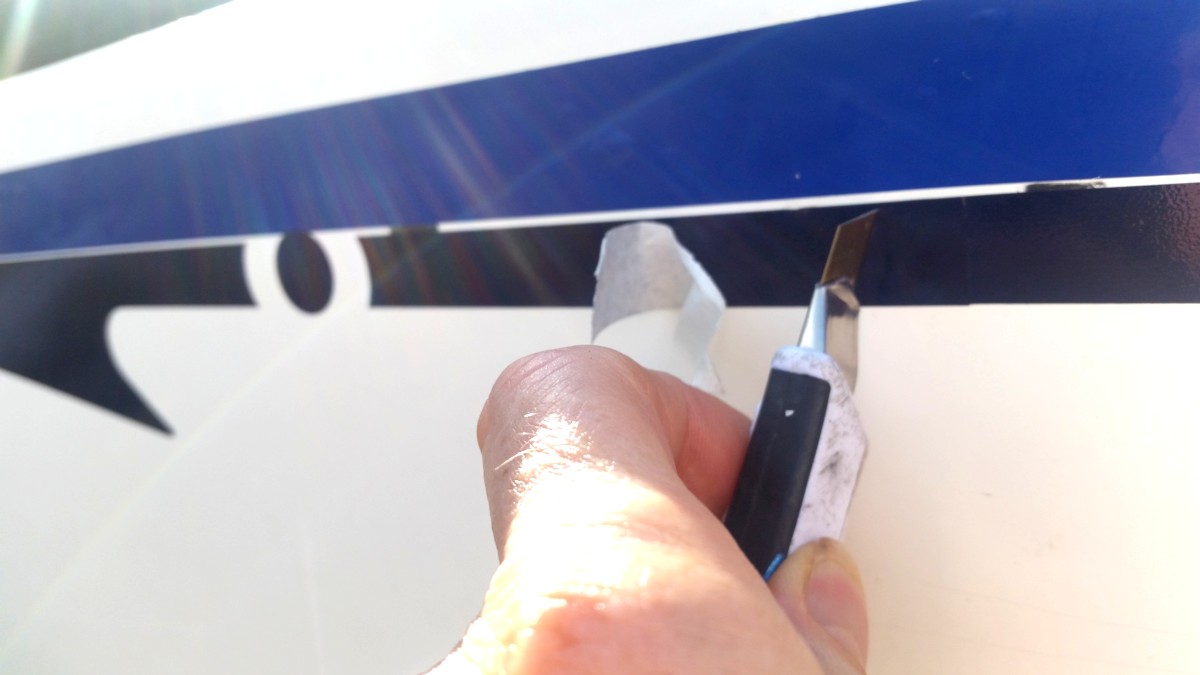
Remove the guideline and clean to remove any pencil marks.
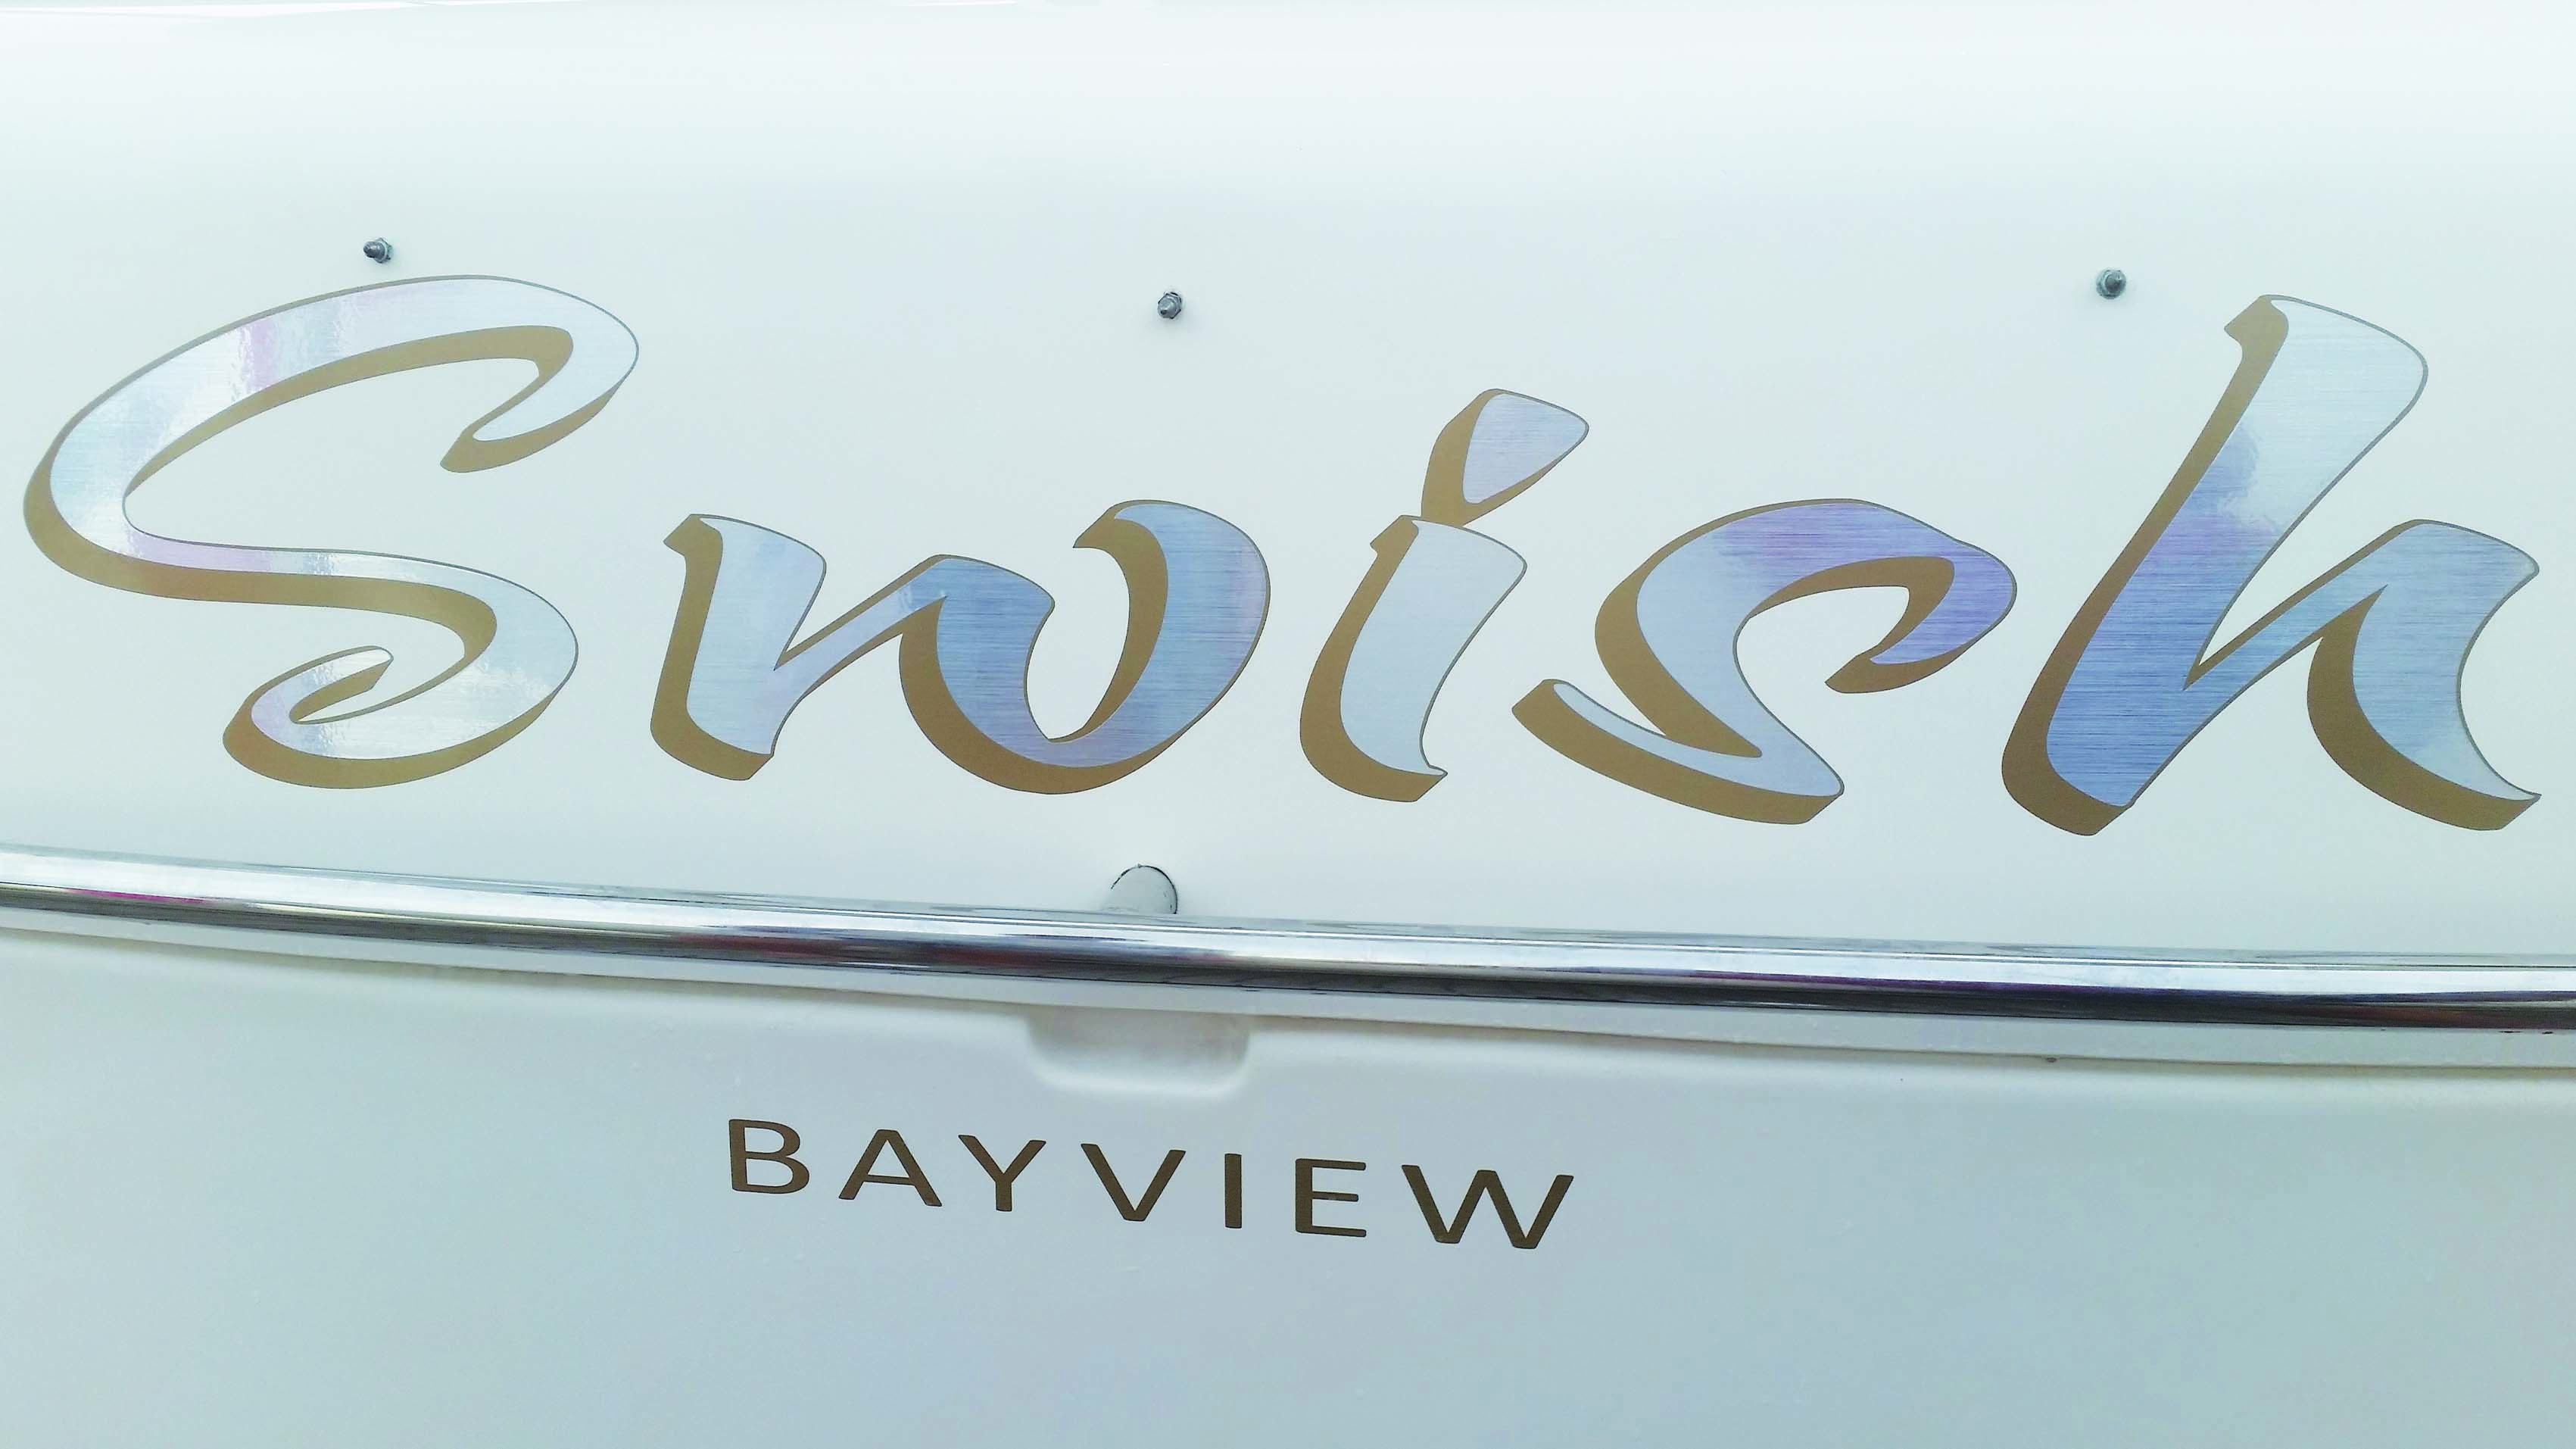
Name Demonstration
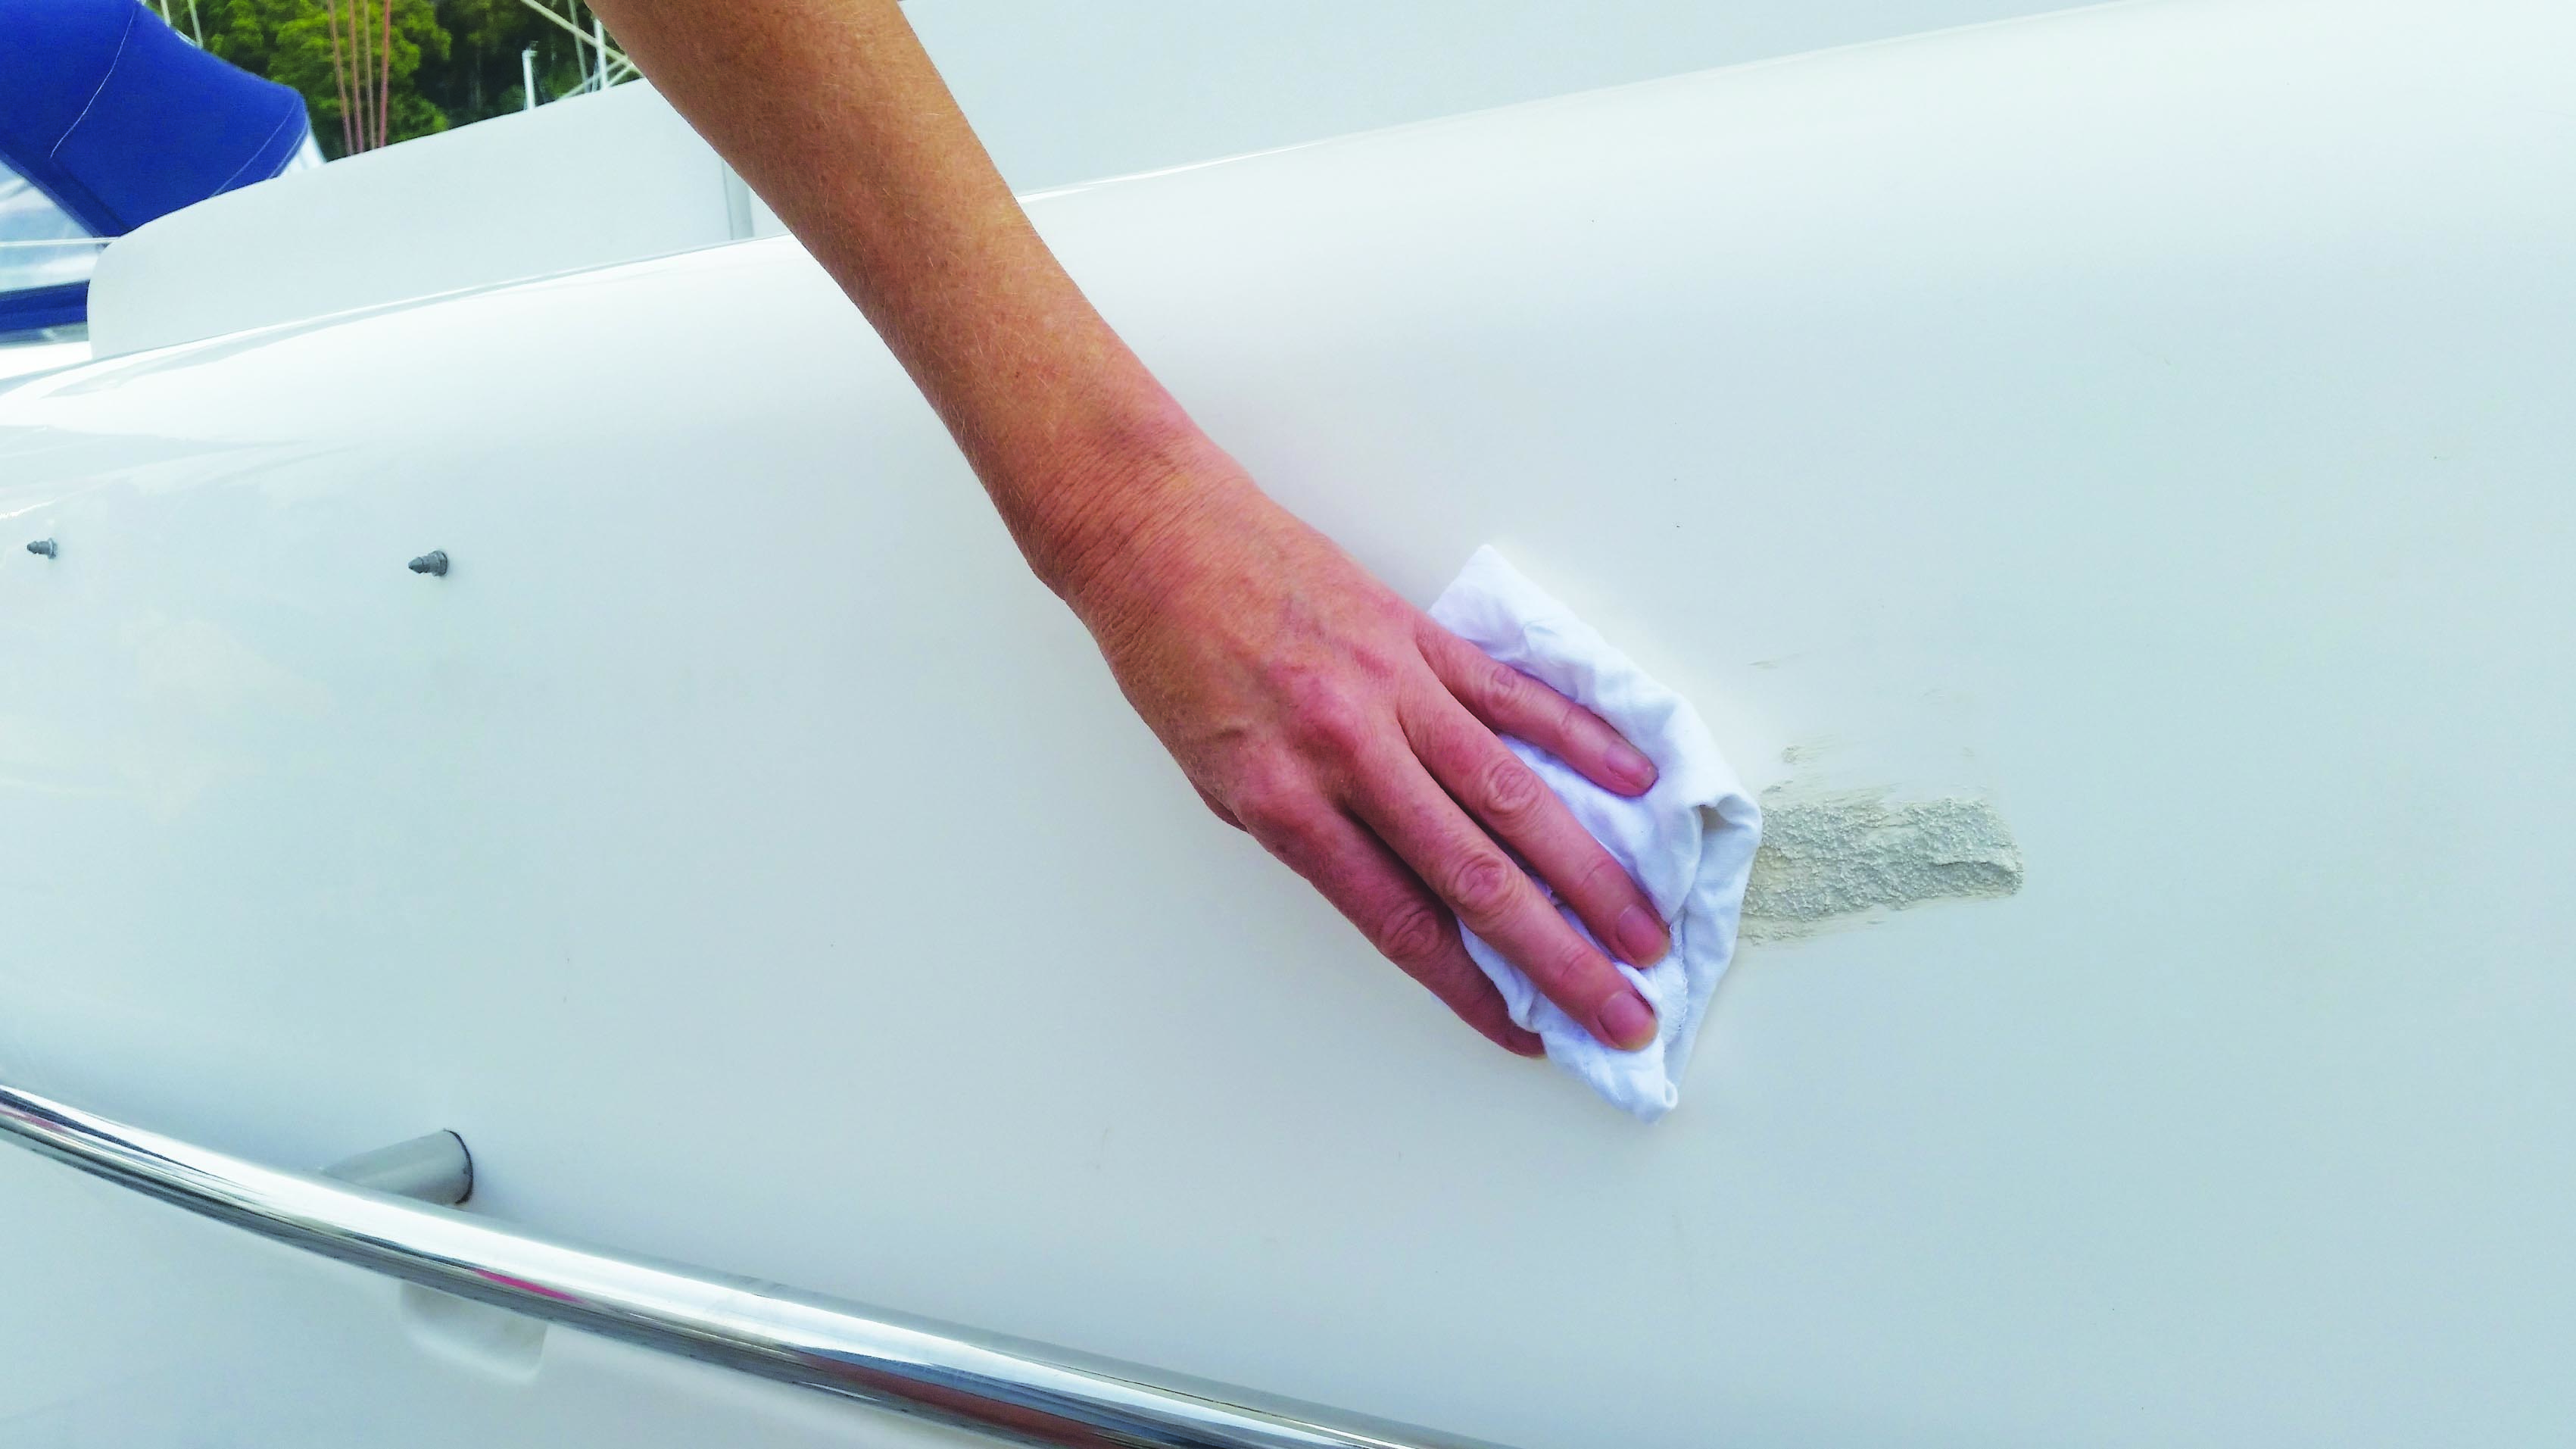
For removal of a vinyl name, sign or rego. try to lift vinyl with fingers. If this is not possible, use a razor blade being careful not to dig into gelcoat. Then remove any vinyl glue residue with acetone or wax & grease remover (automotive product).
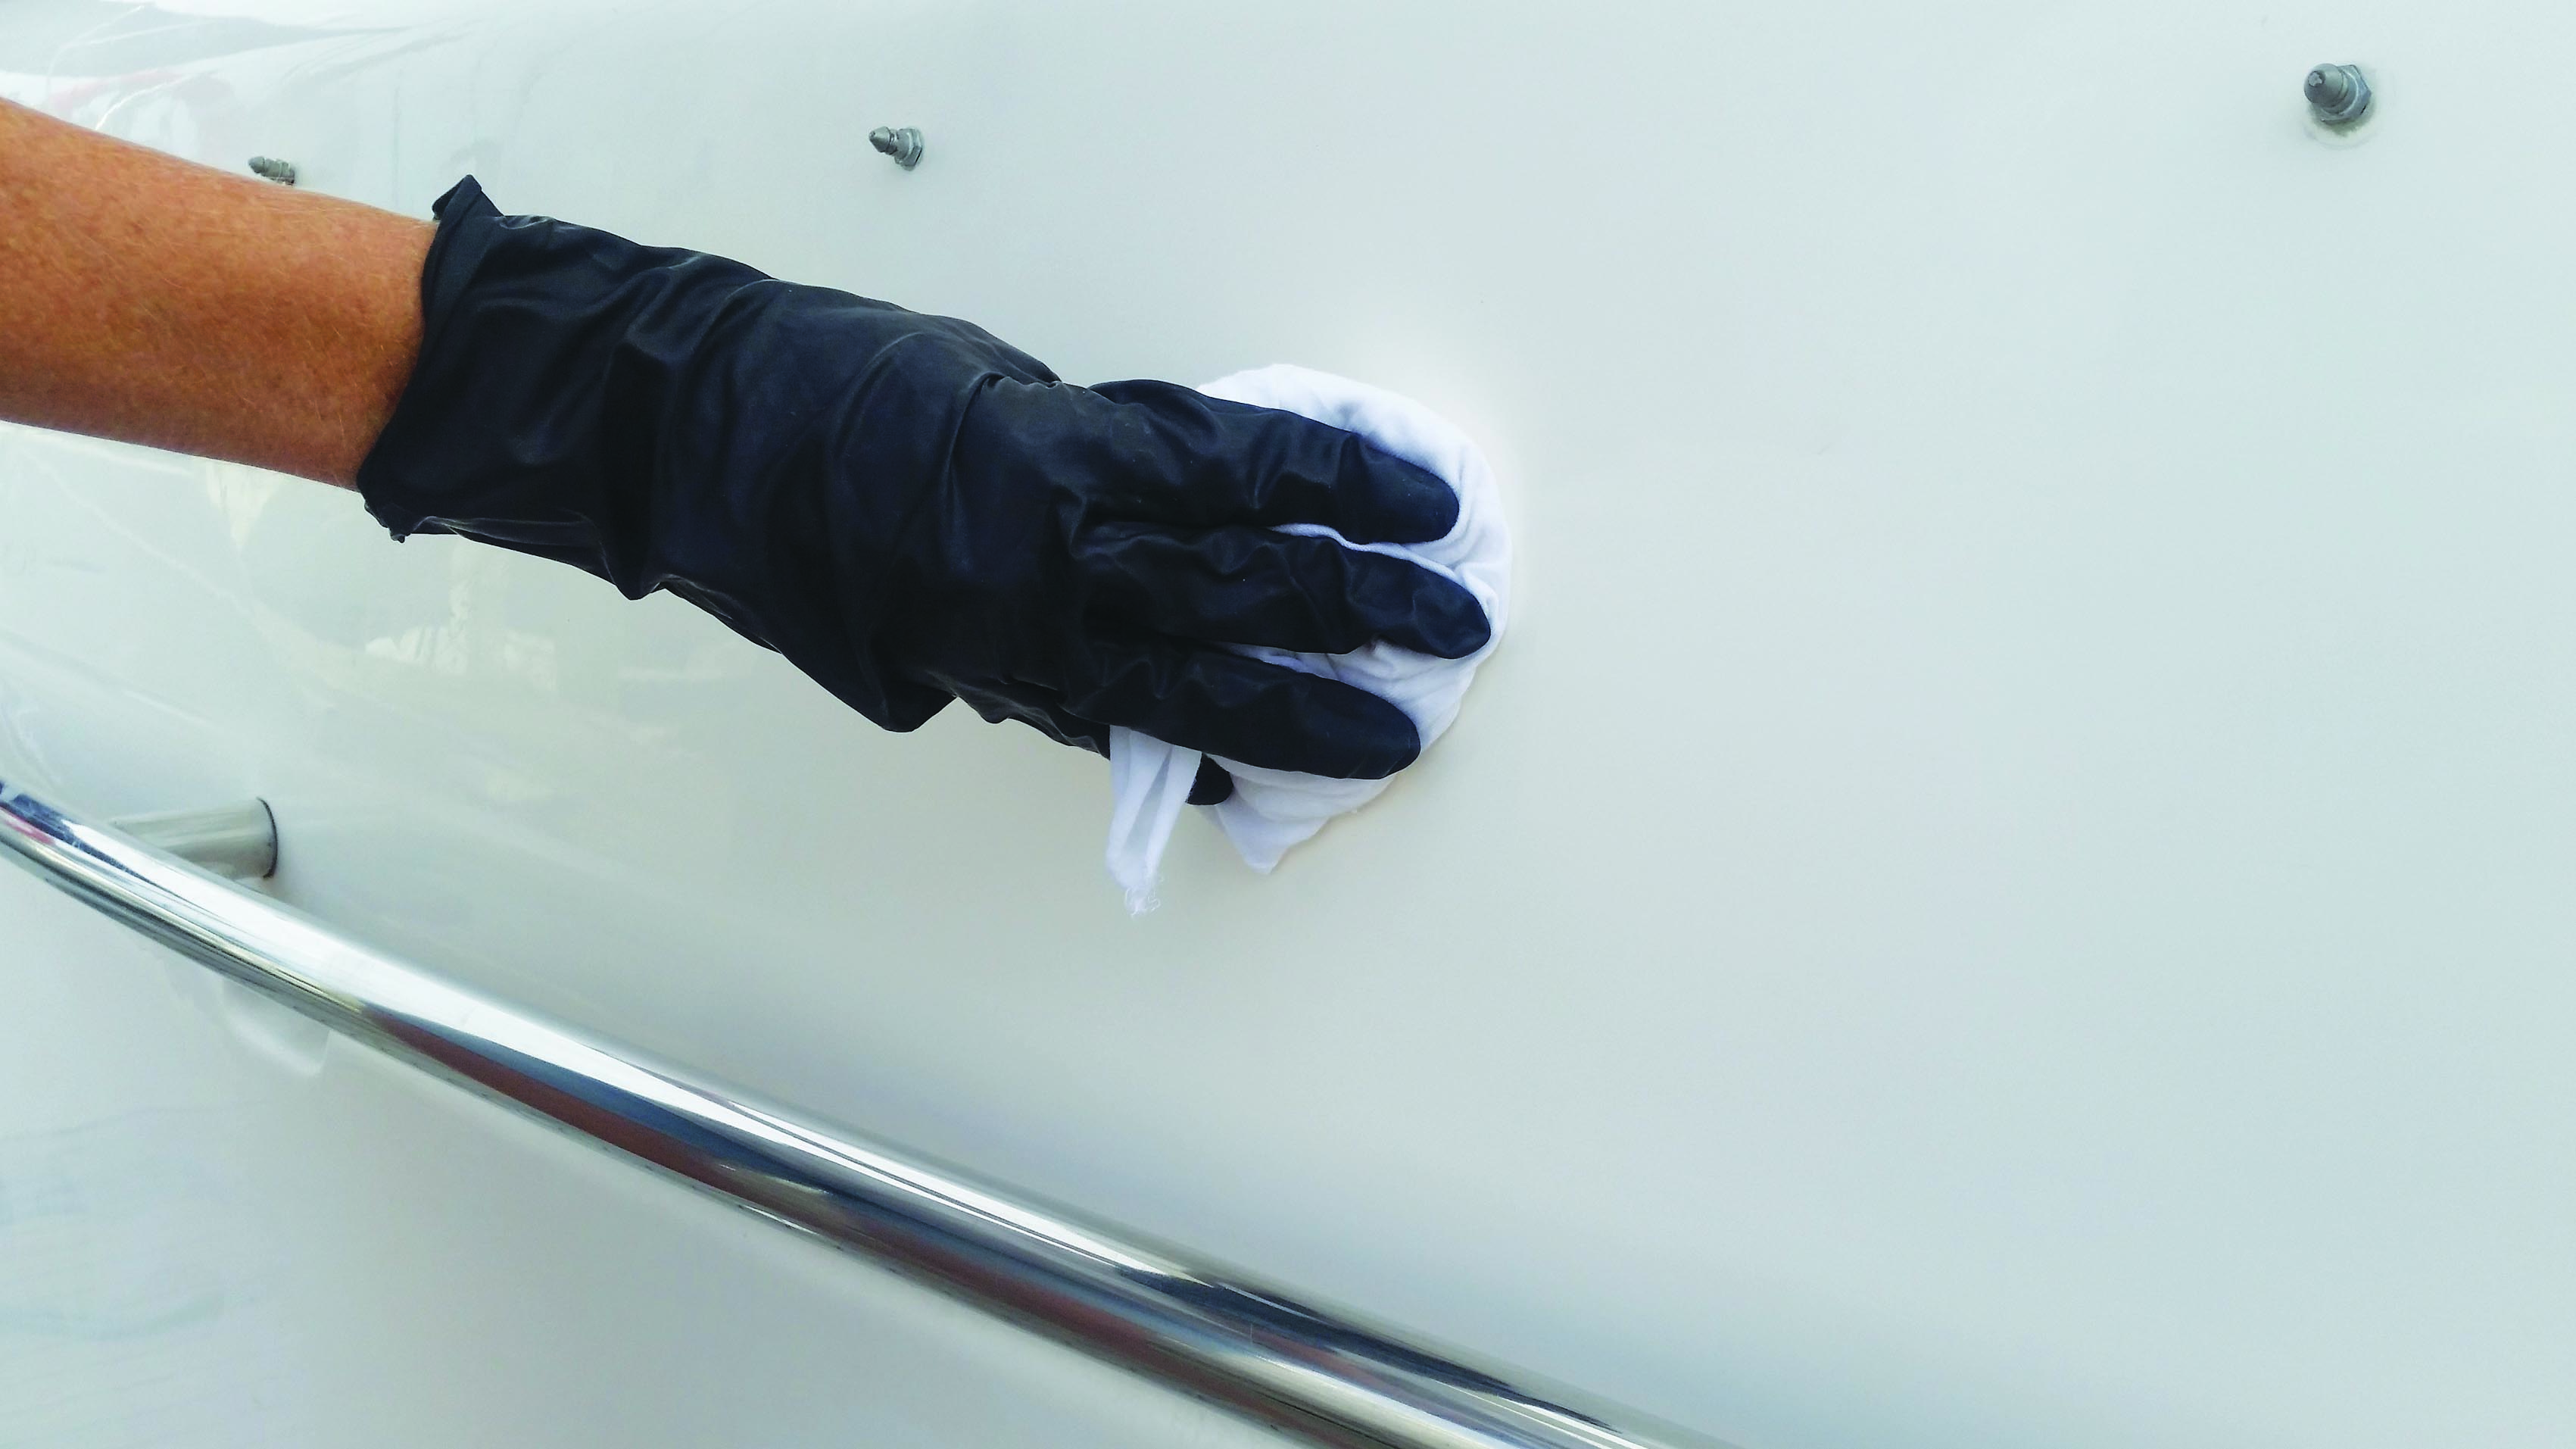
After removing the old vinyl and residue glue, clean the surface with a cutting polish and then again with acetone or wax & grease remover.
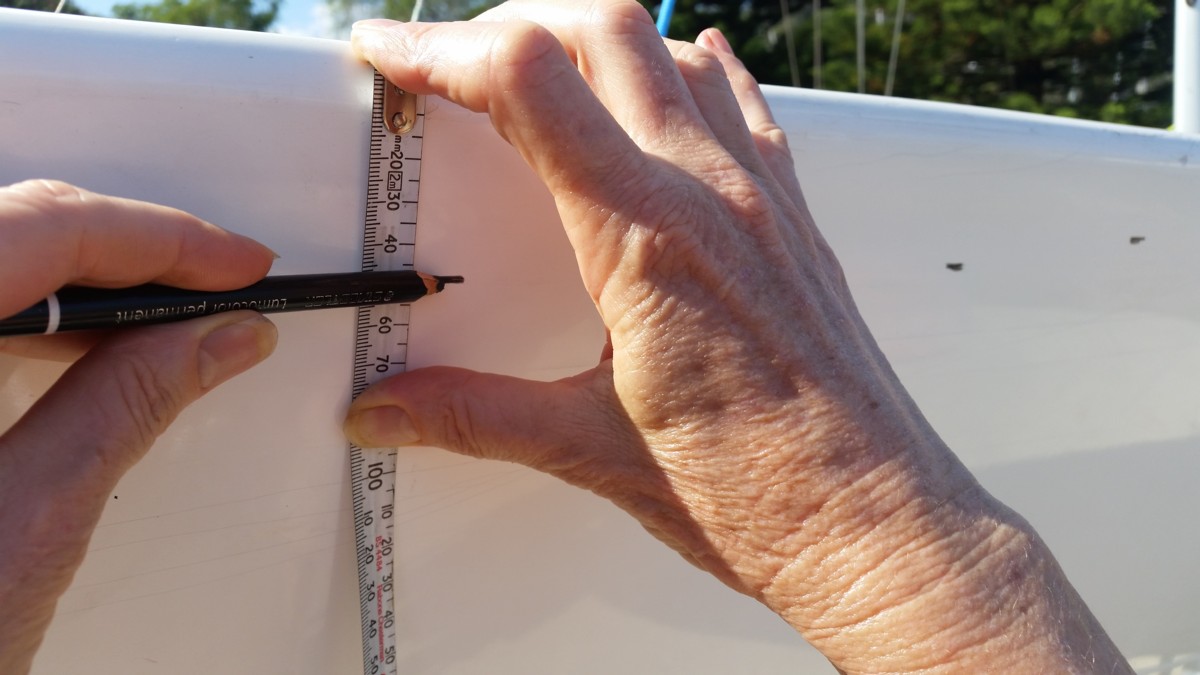
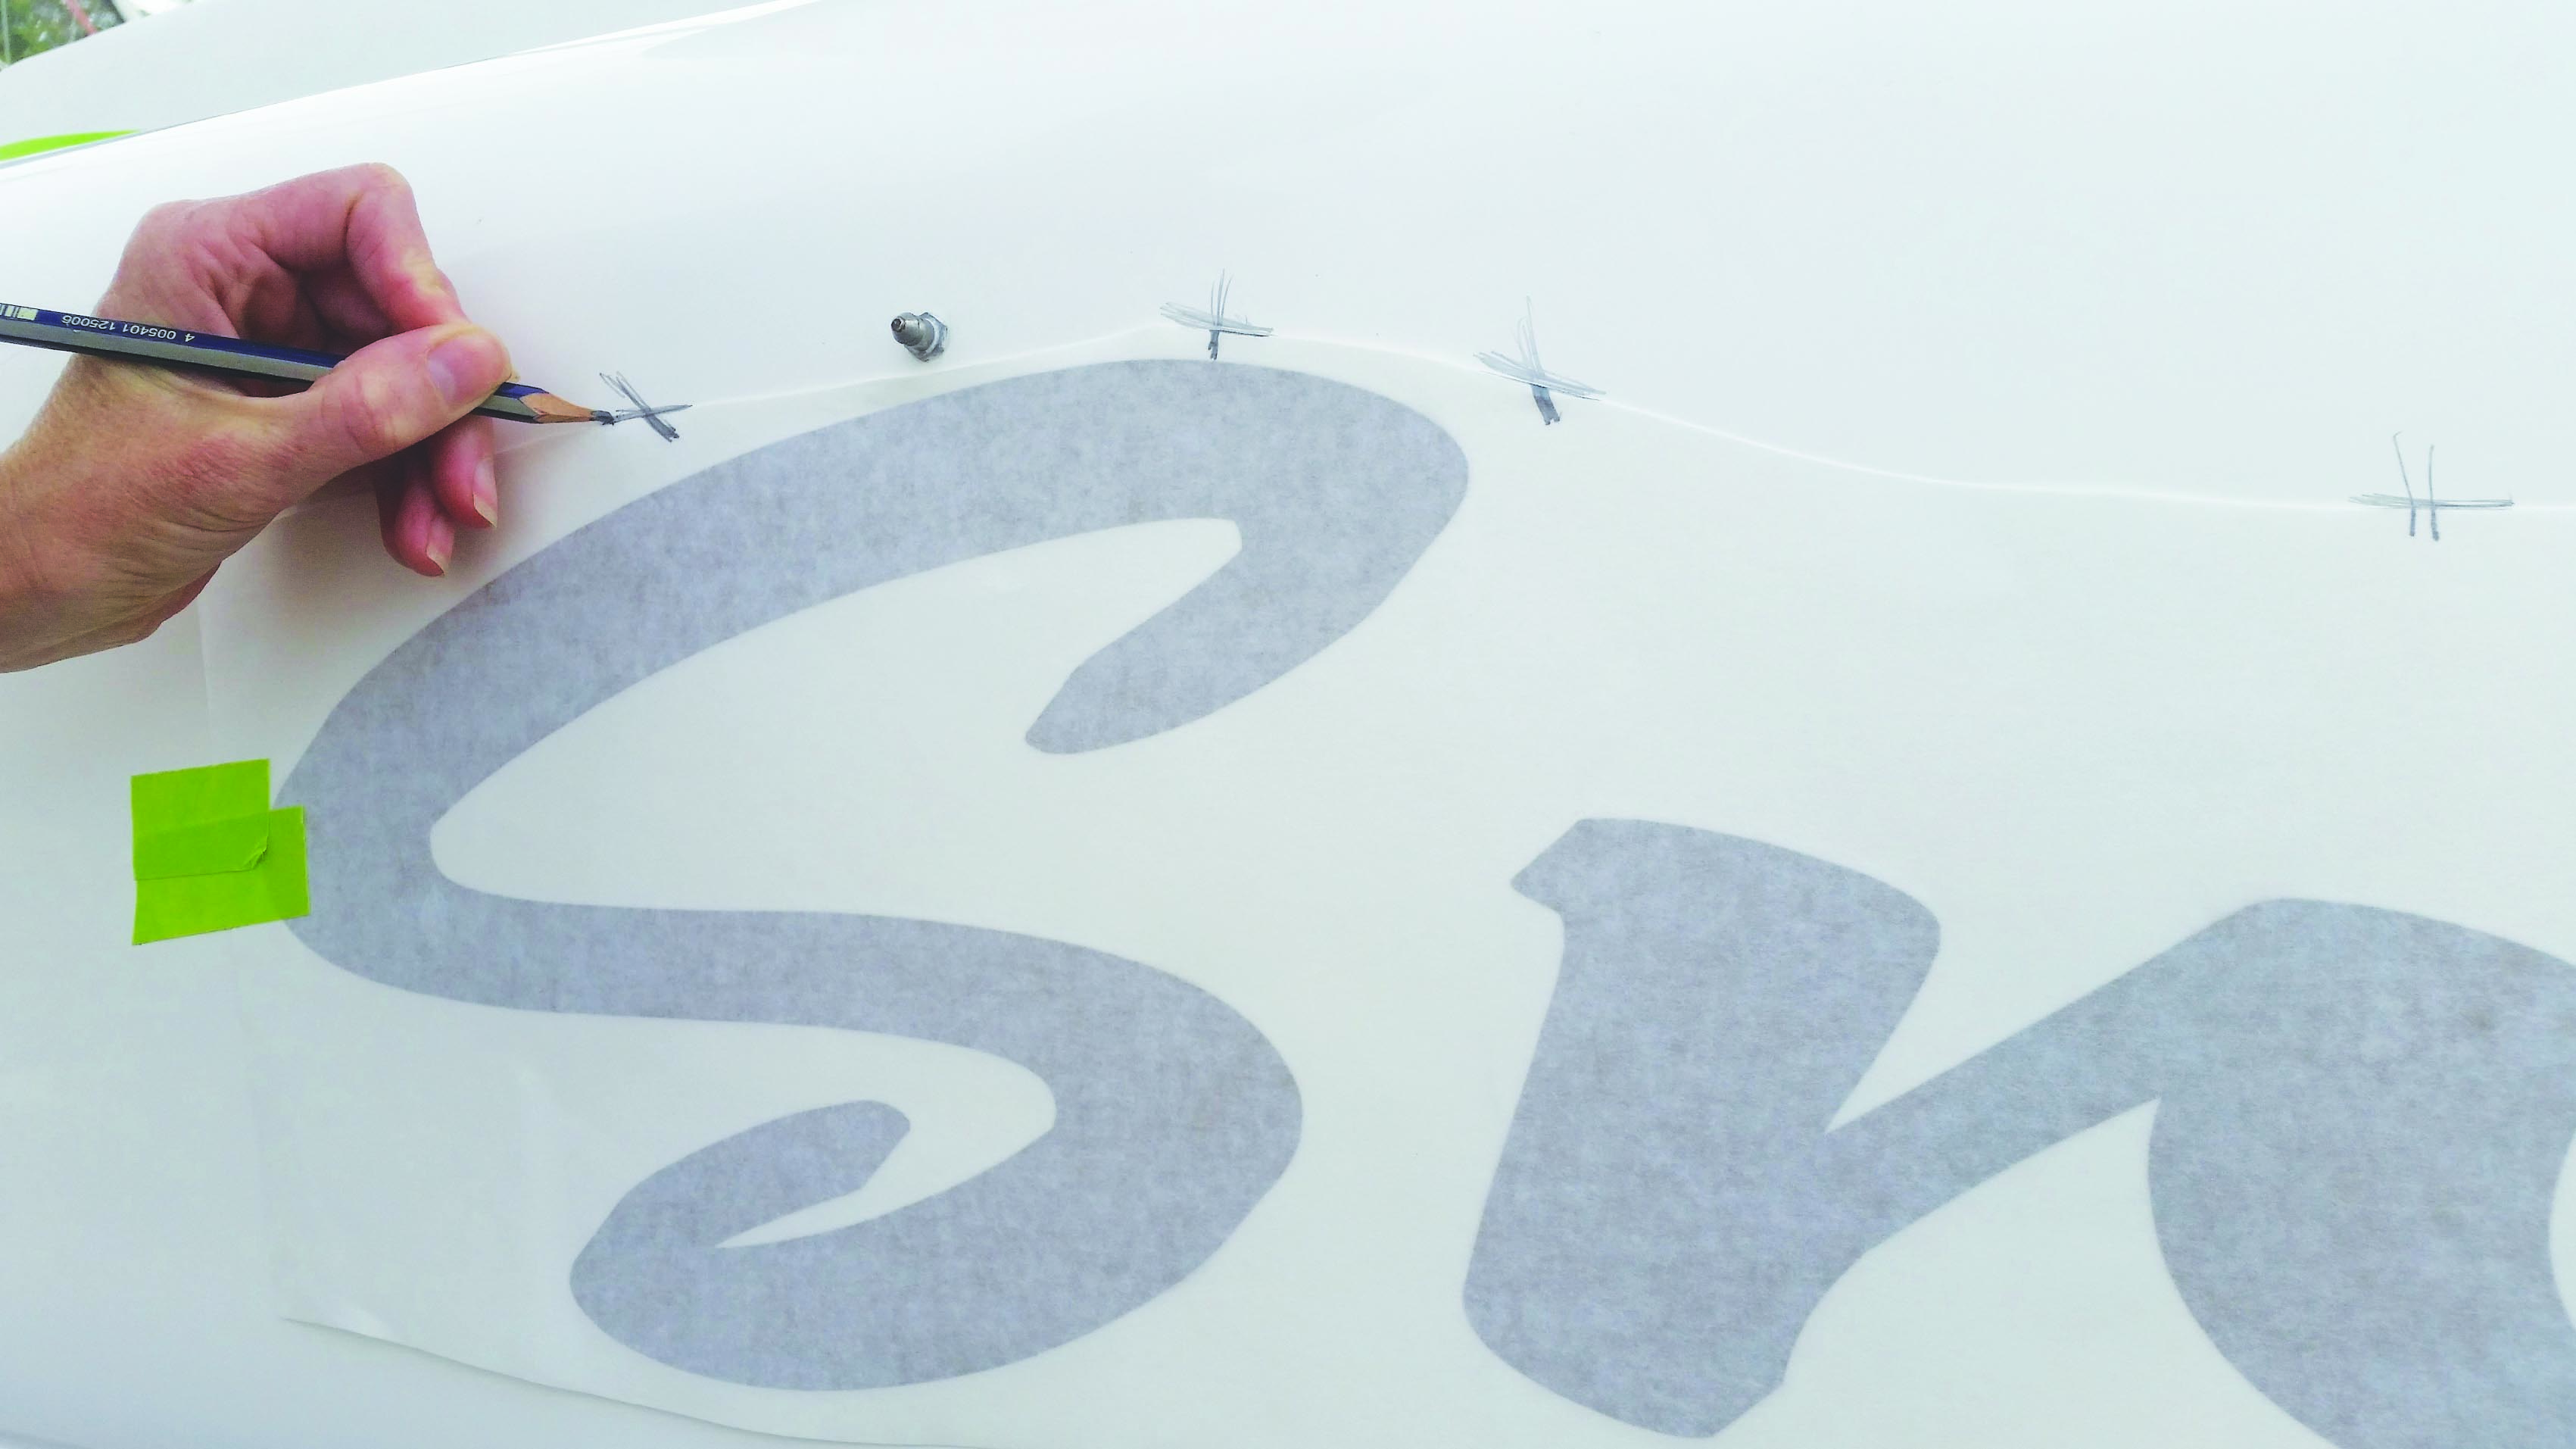
Position the name onto the boat and attach with masking tape.

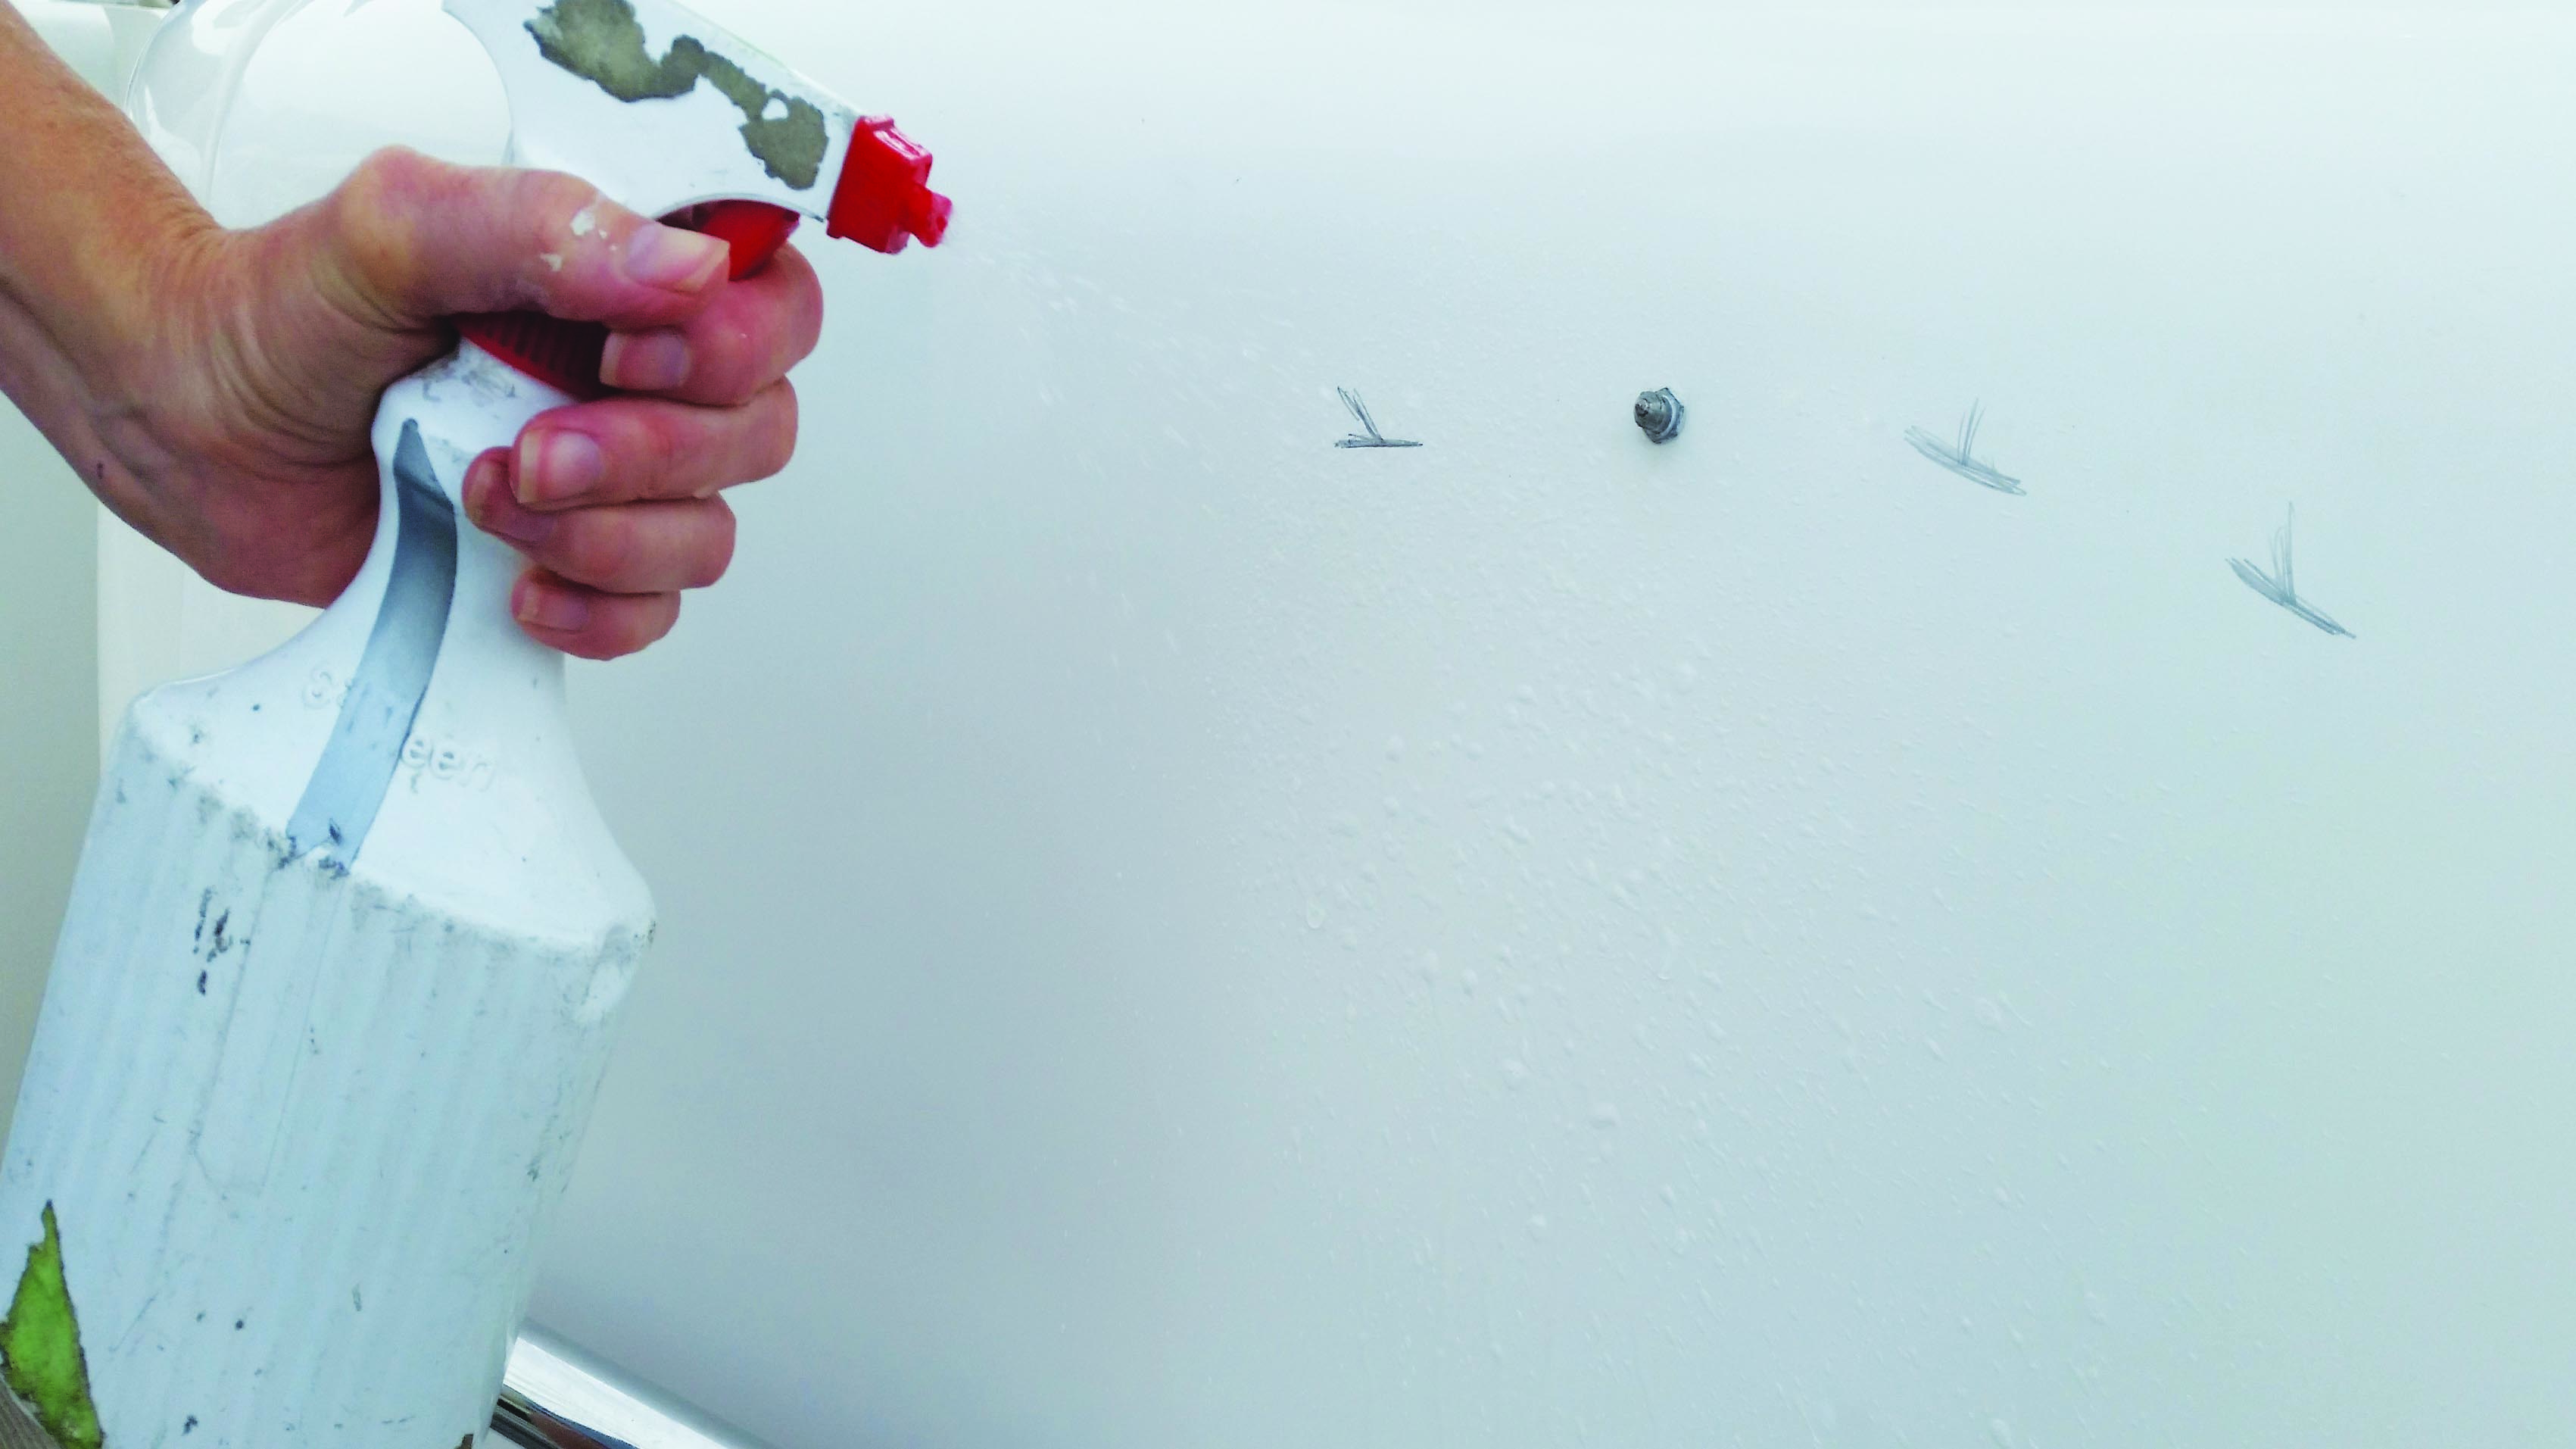
Create guidelines for position of the name by running a black china graph pencil across the name onto the boat surface. Make several marks along the length of the name, horizontally and vertically.
Remove the backing material from the base colour of the name. Spray the adhesive side of vinyl with a soapy water mix (refer Kit contents).
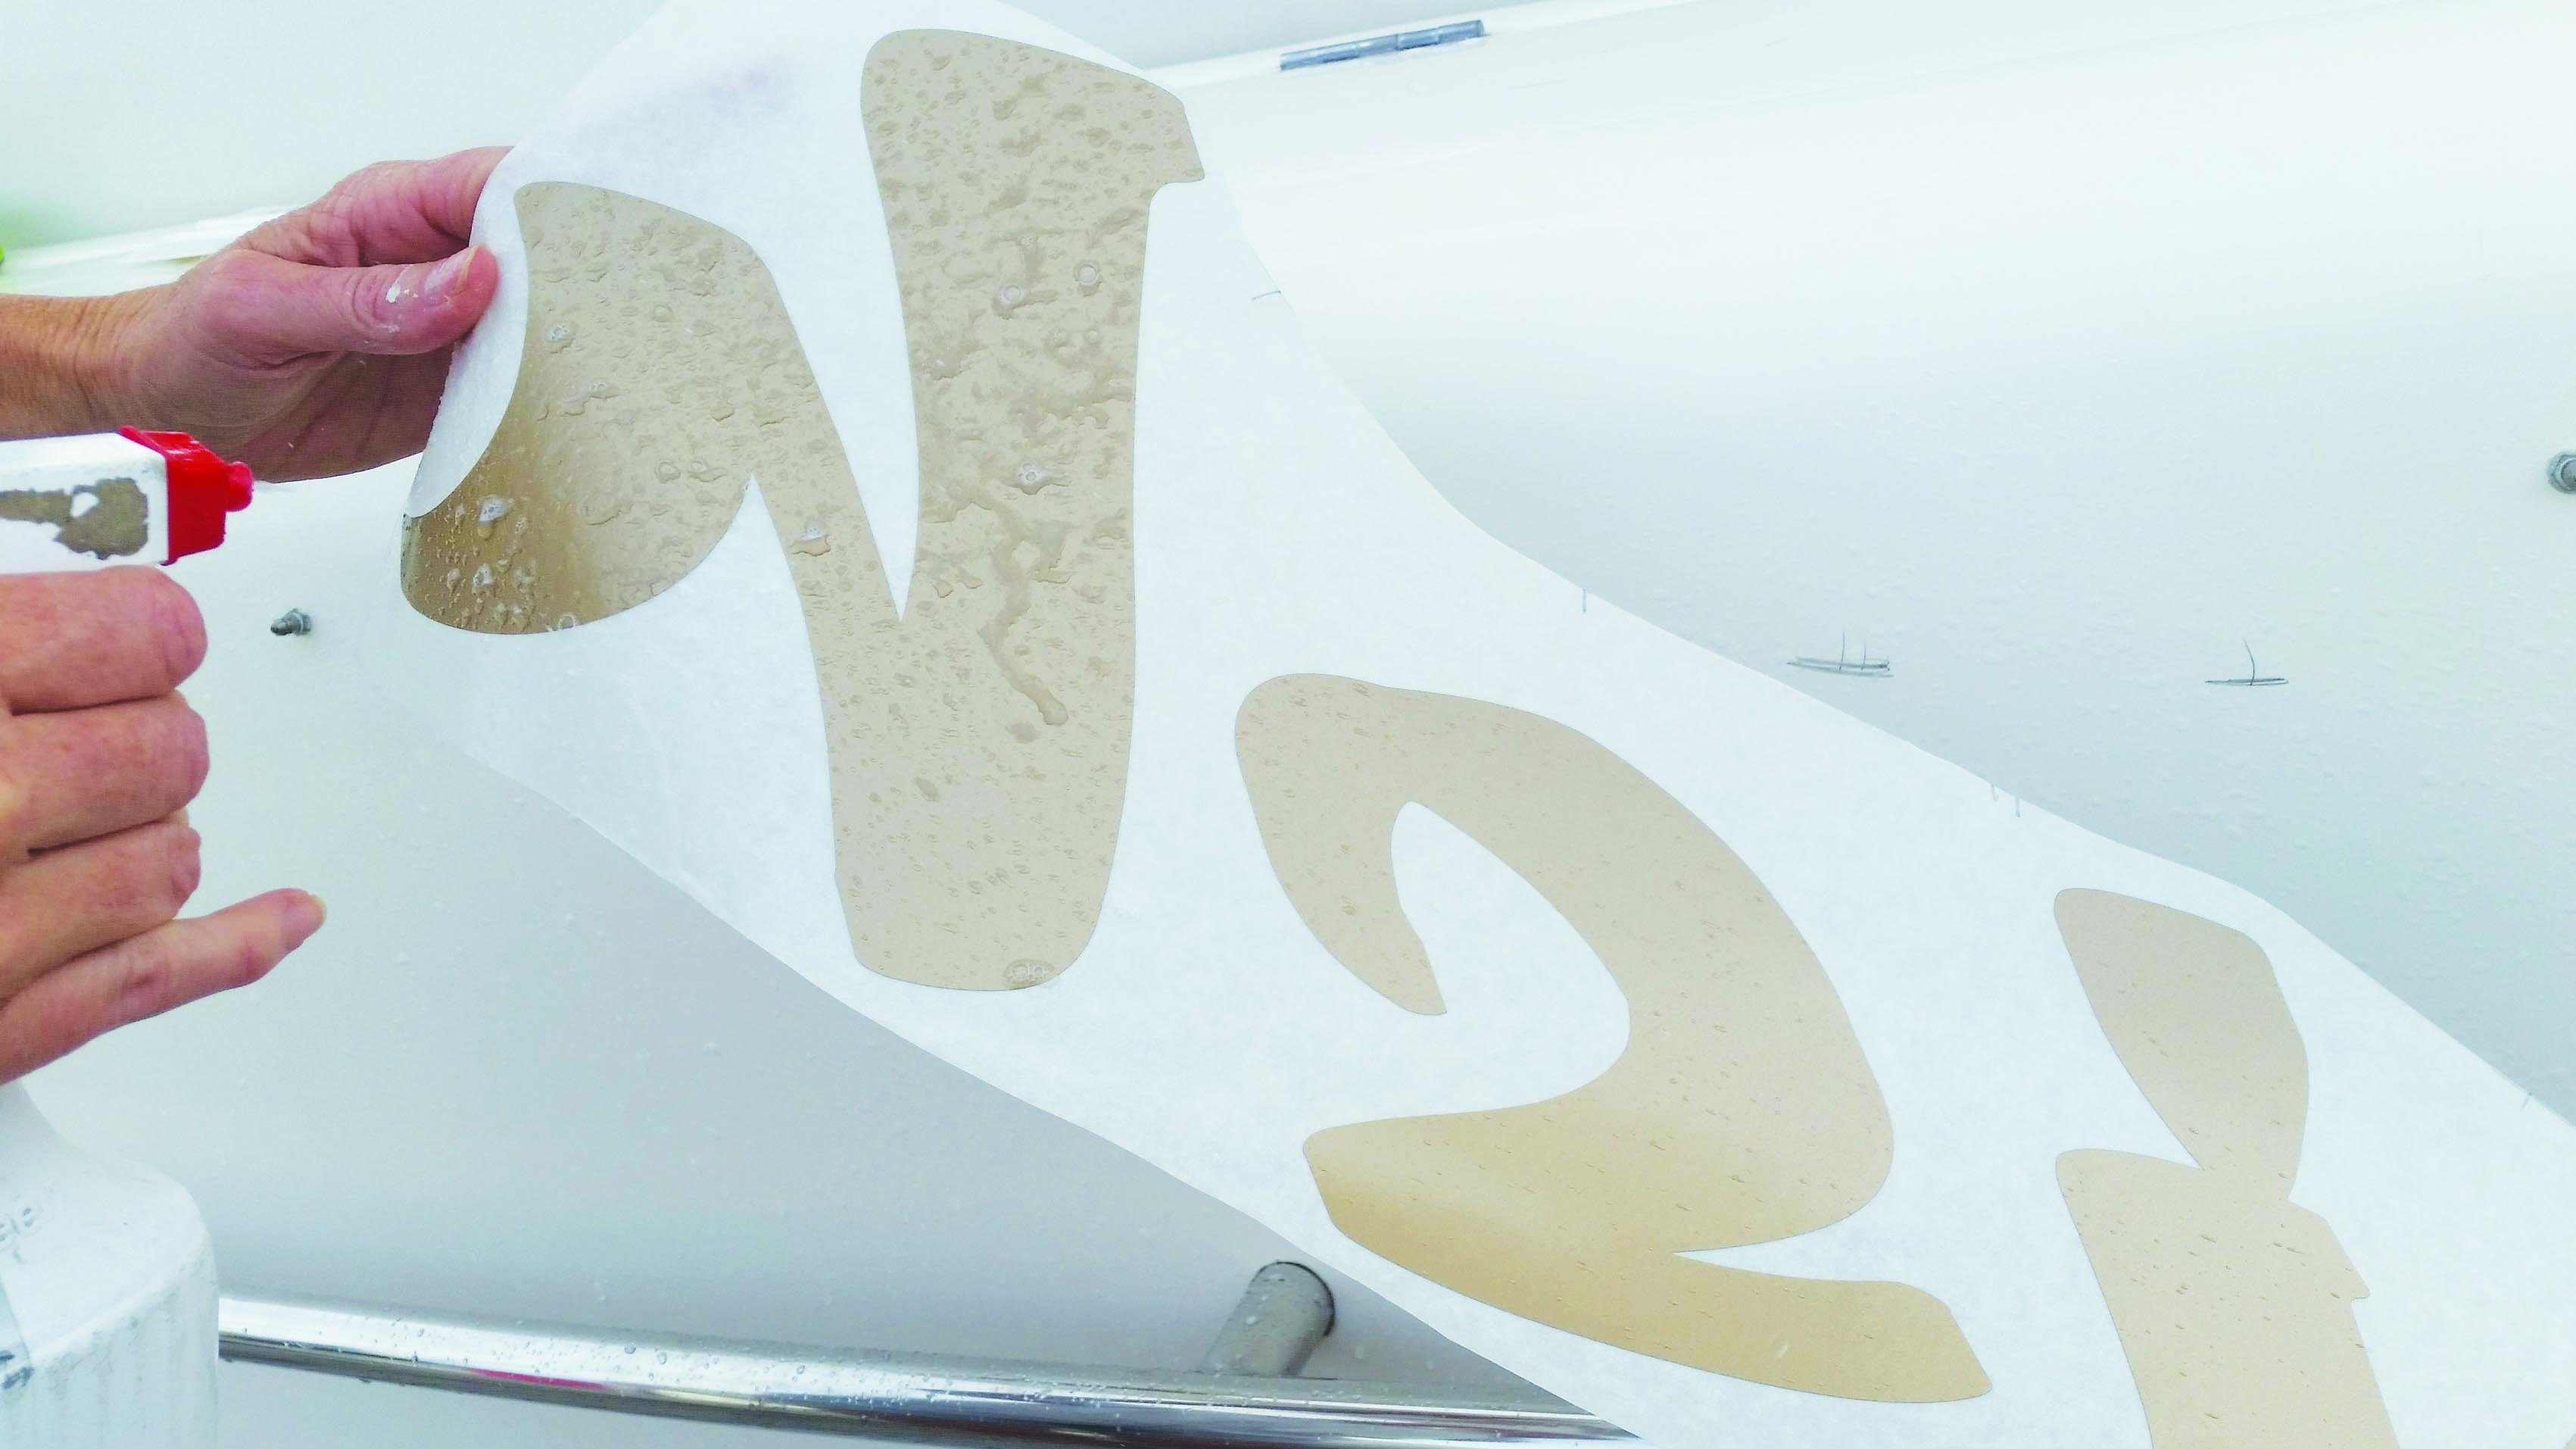
Also spray the surface you are working onto. This allows some movement of the vinyl until it is correctly positioned.
Position the name using the guide marks you created.
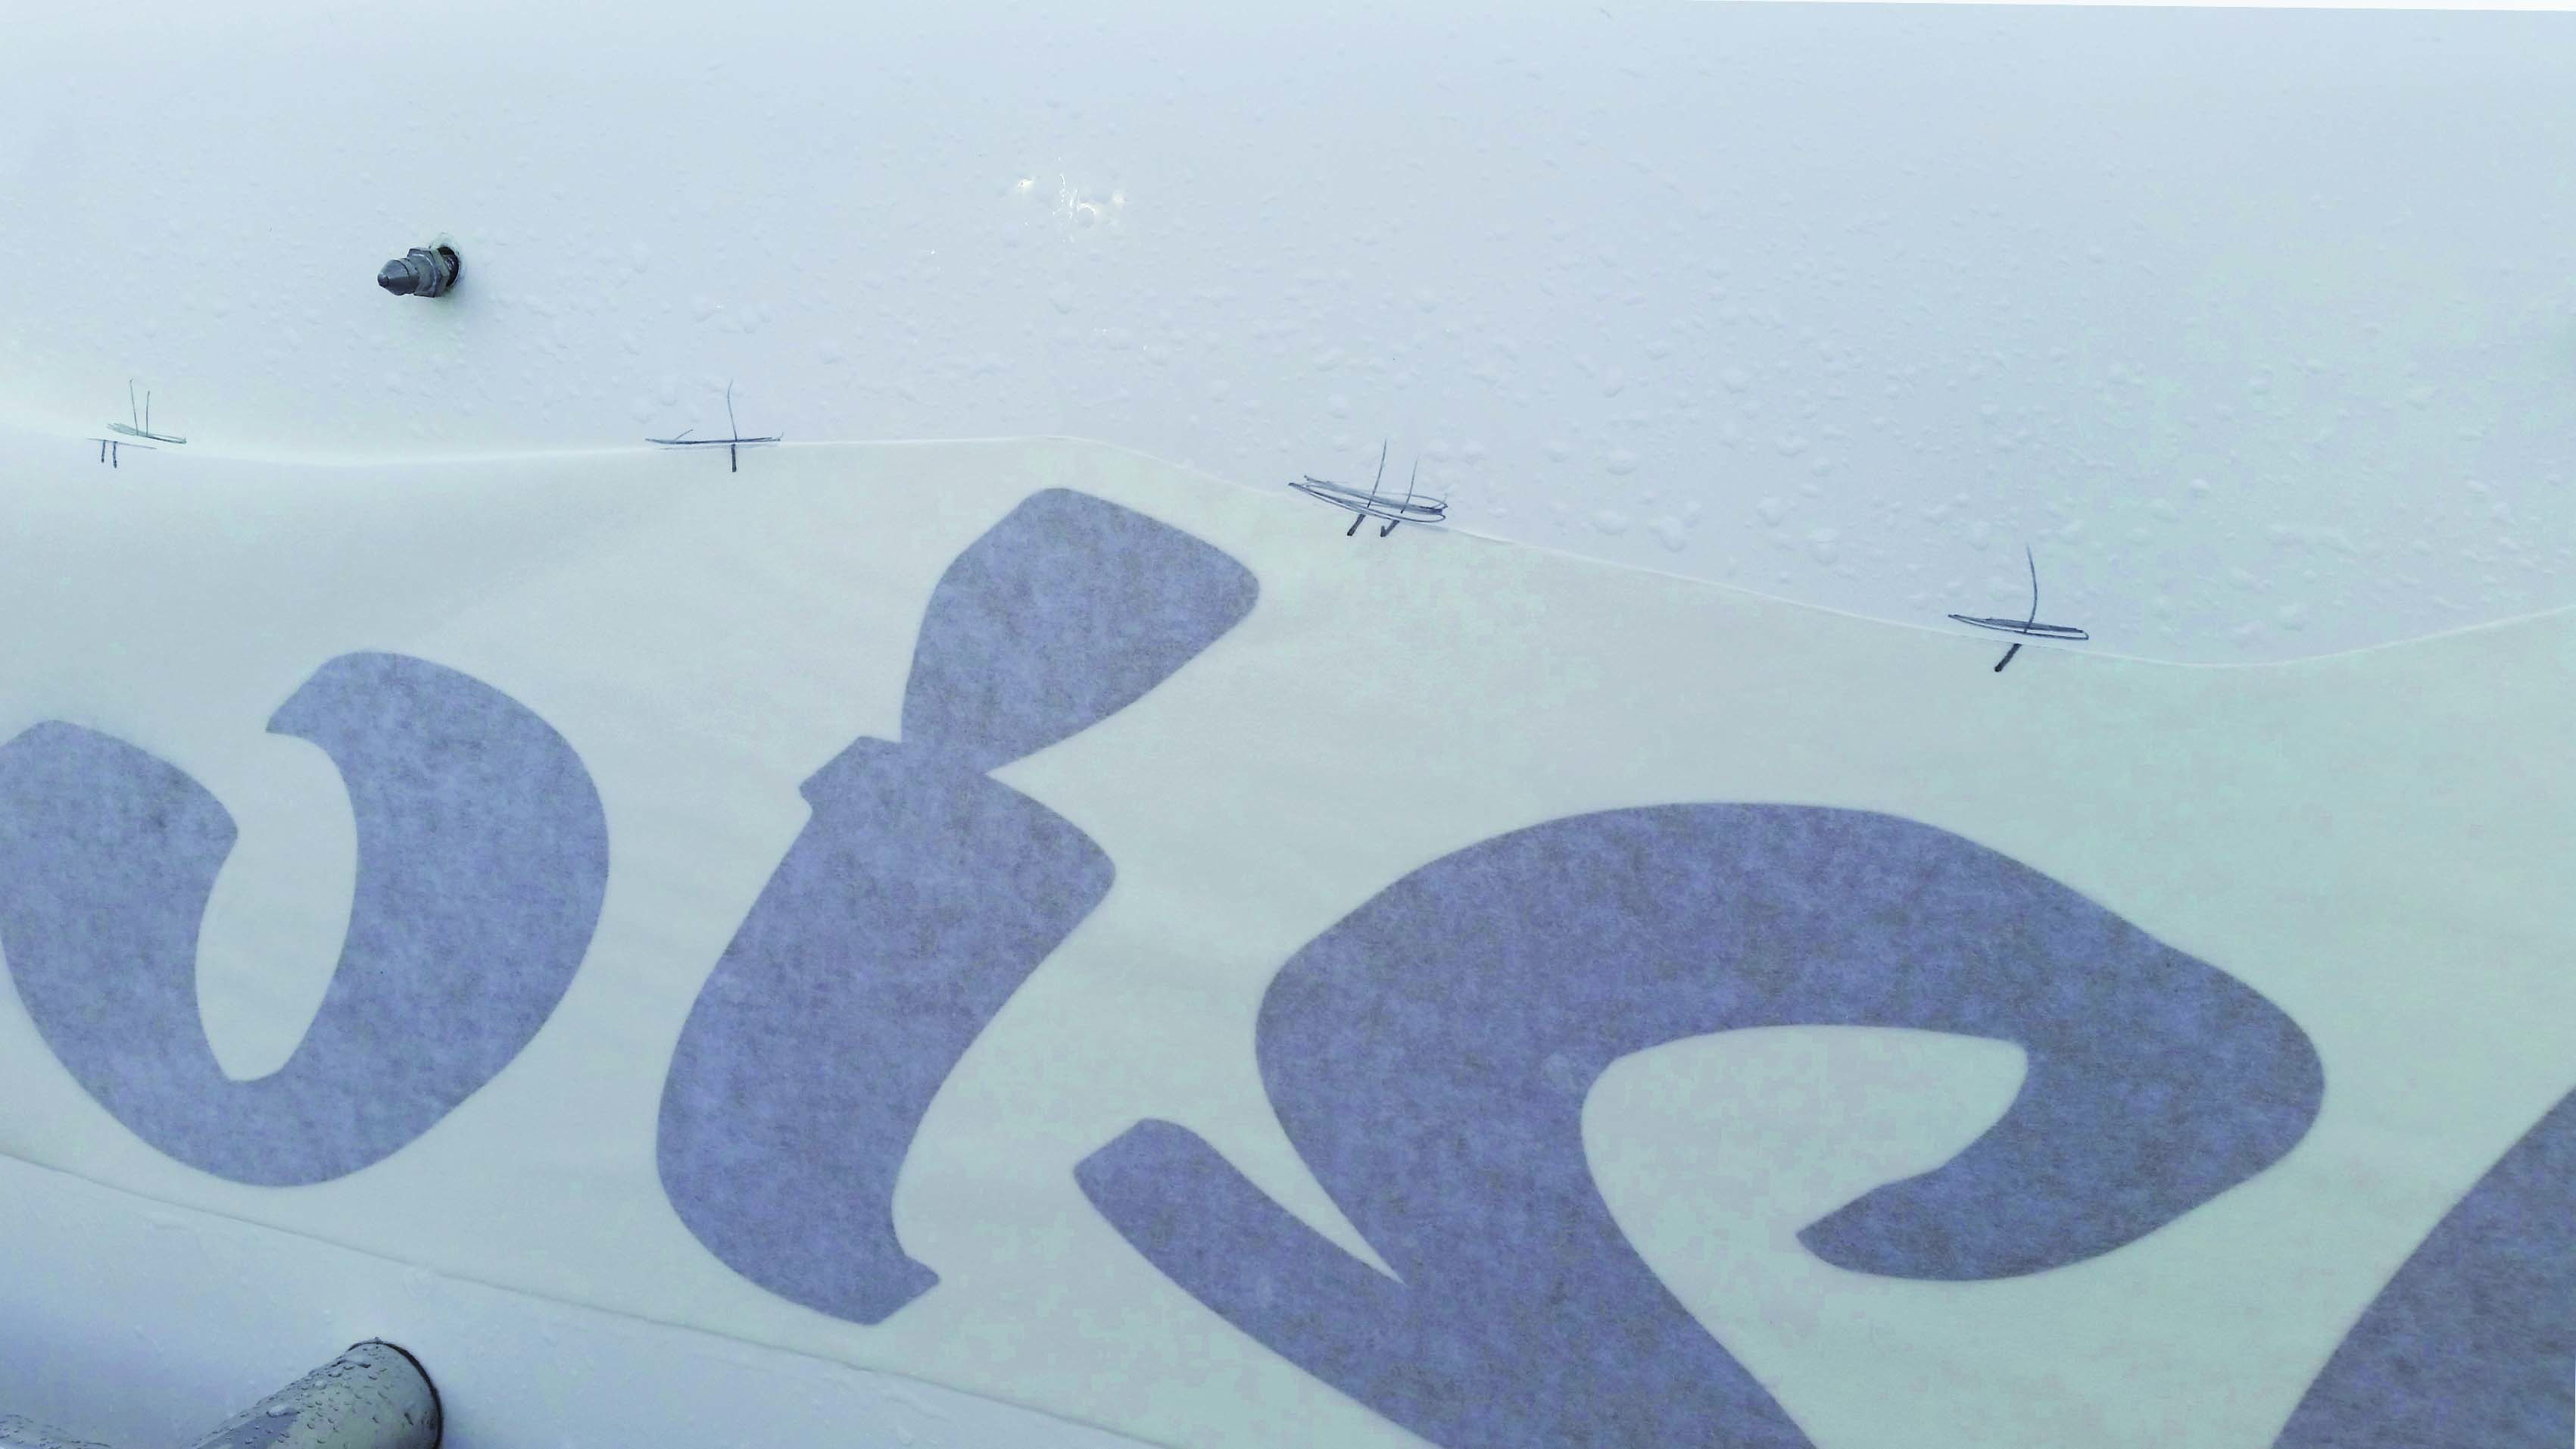
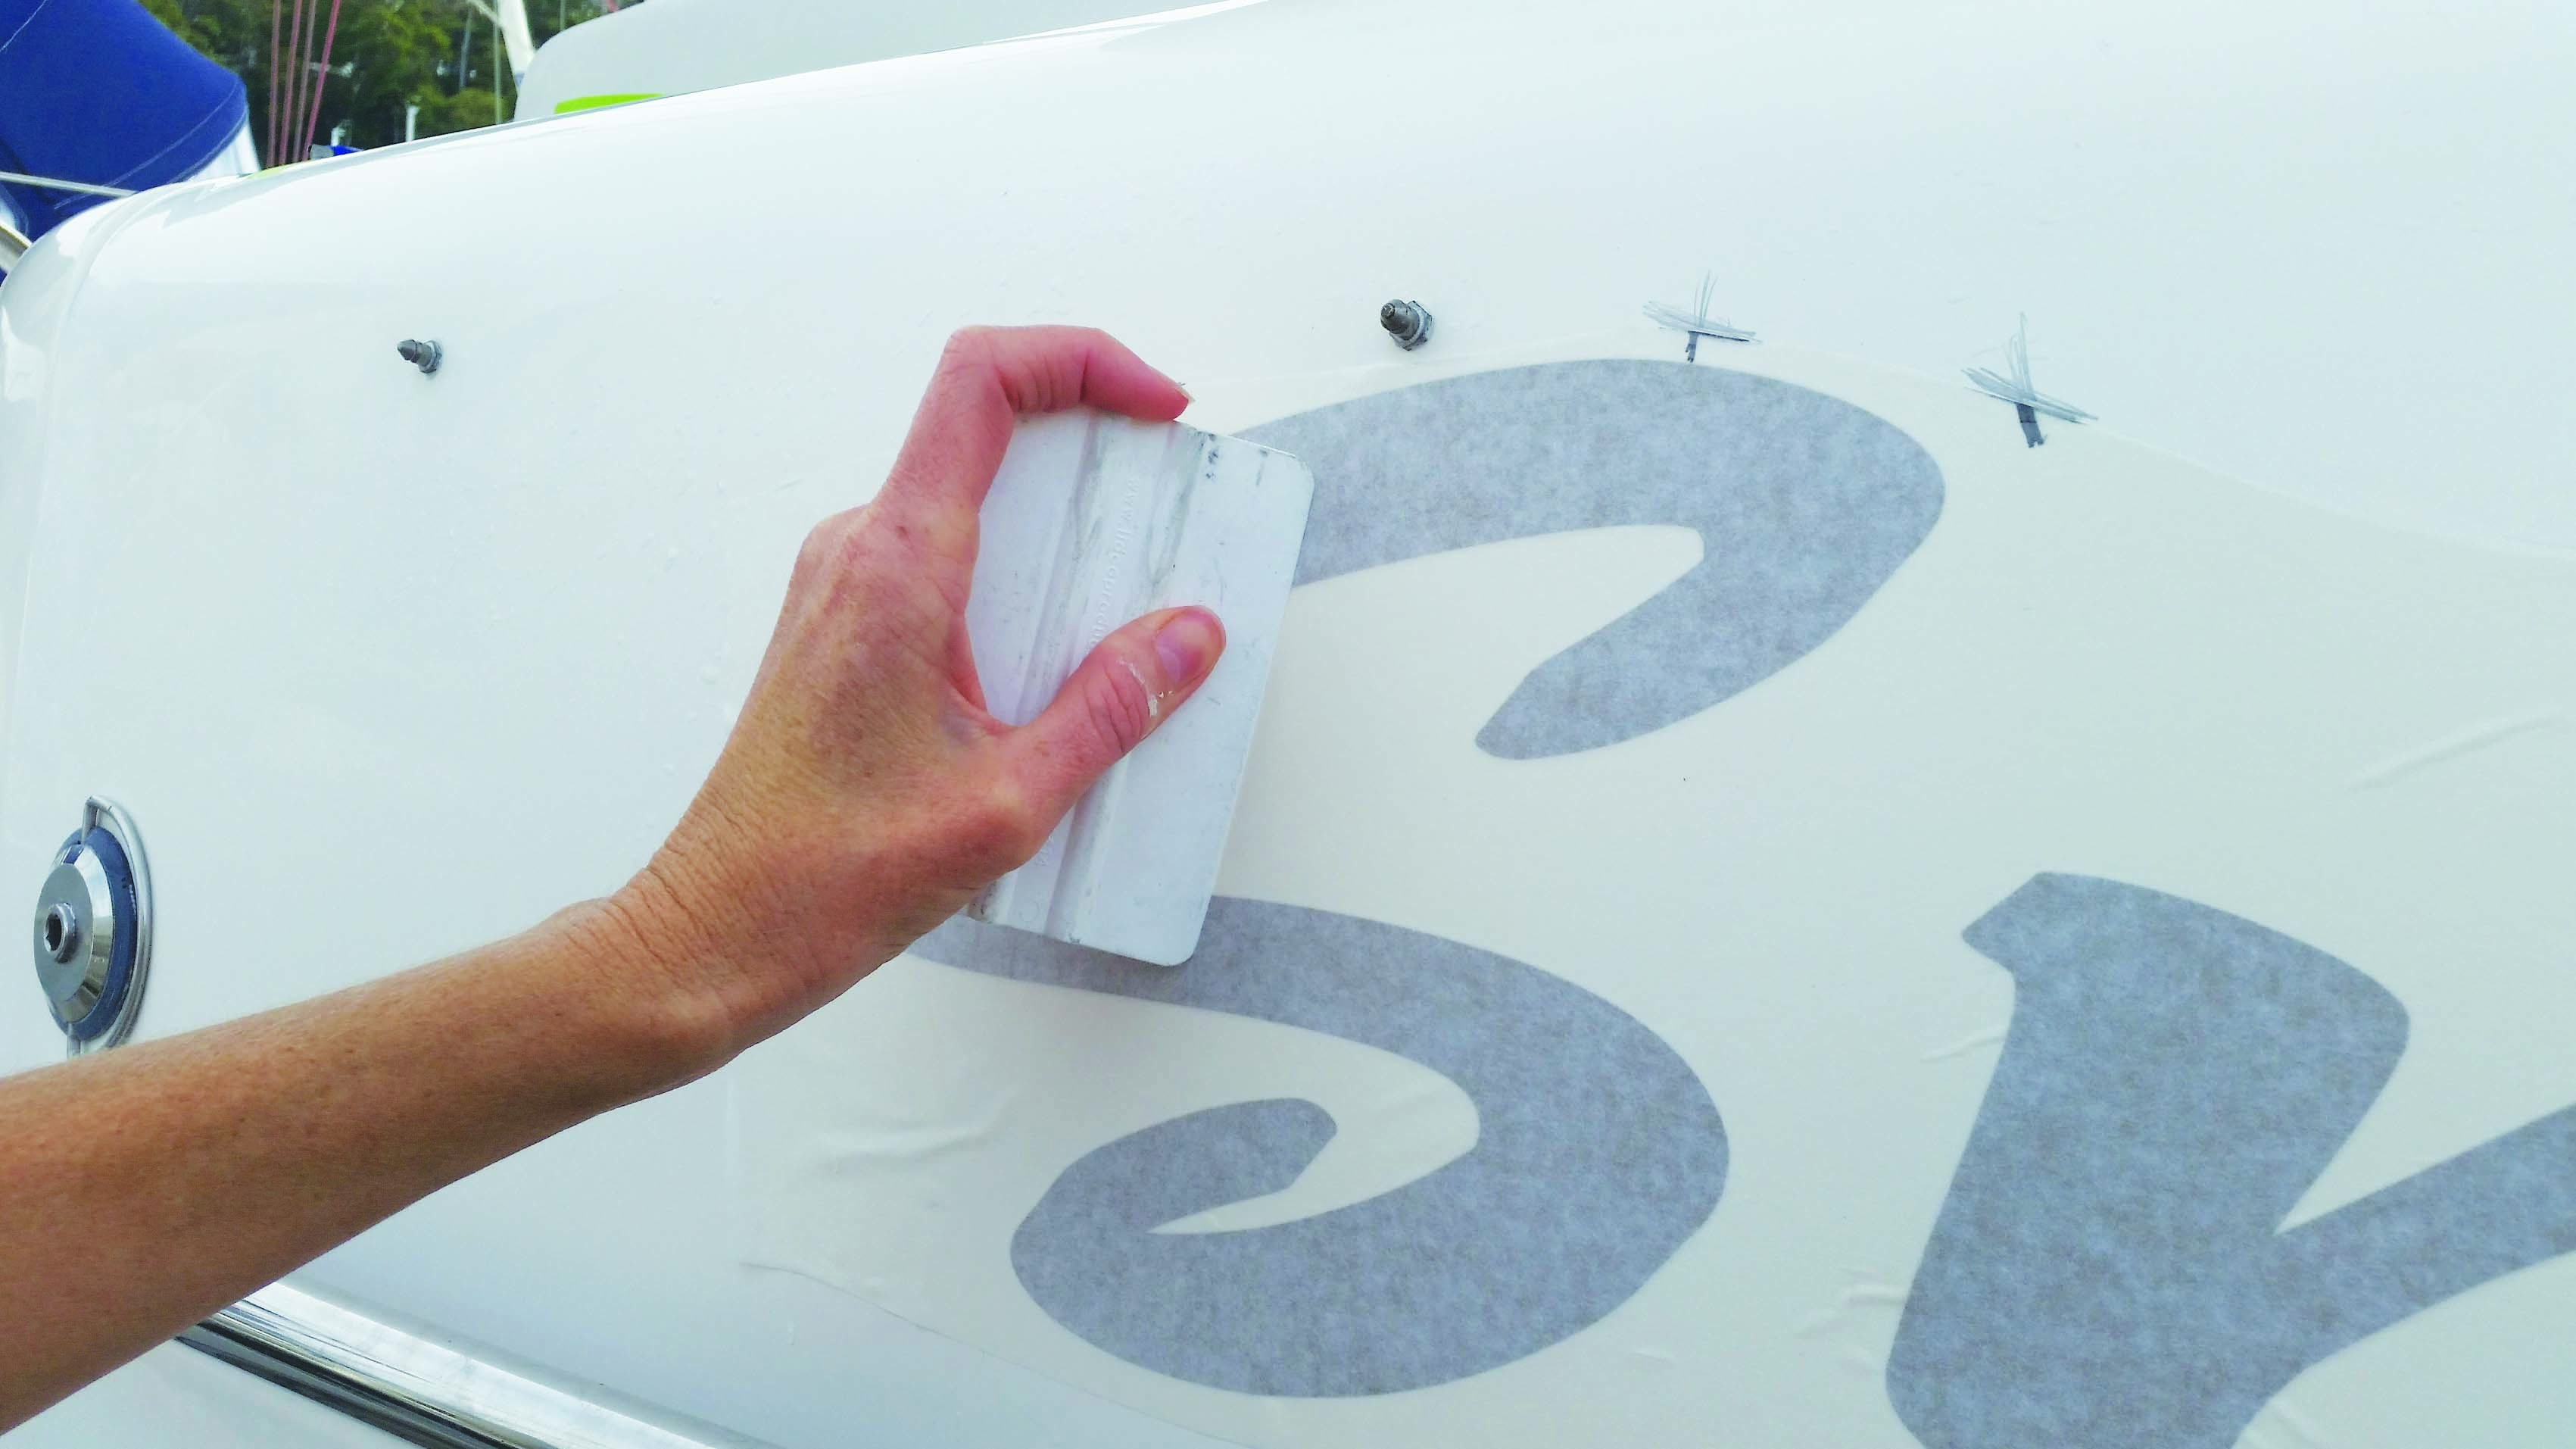
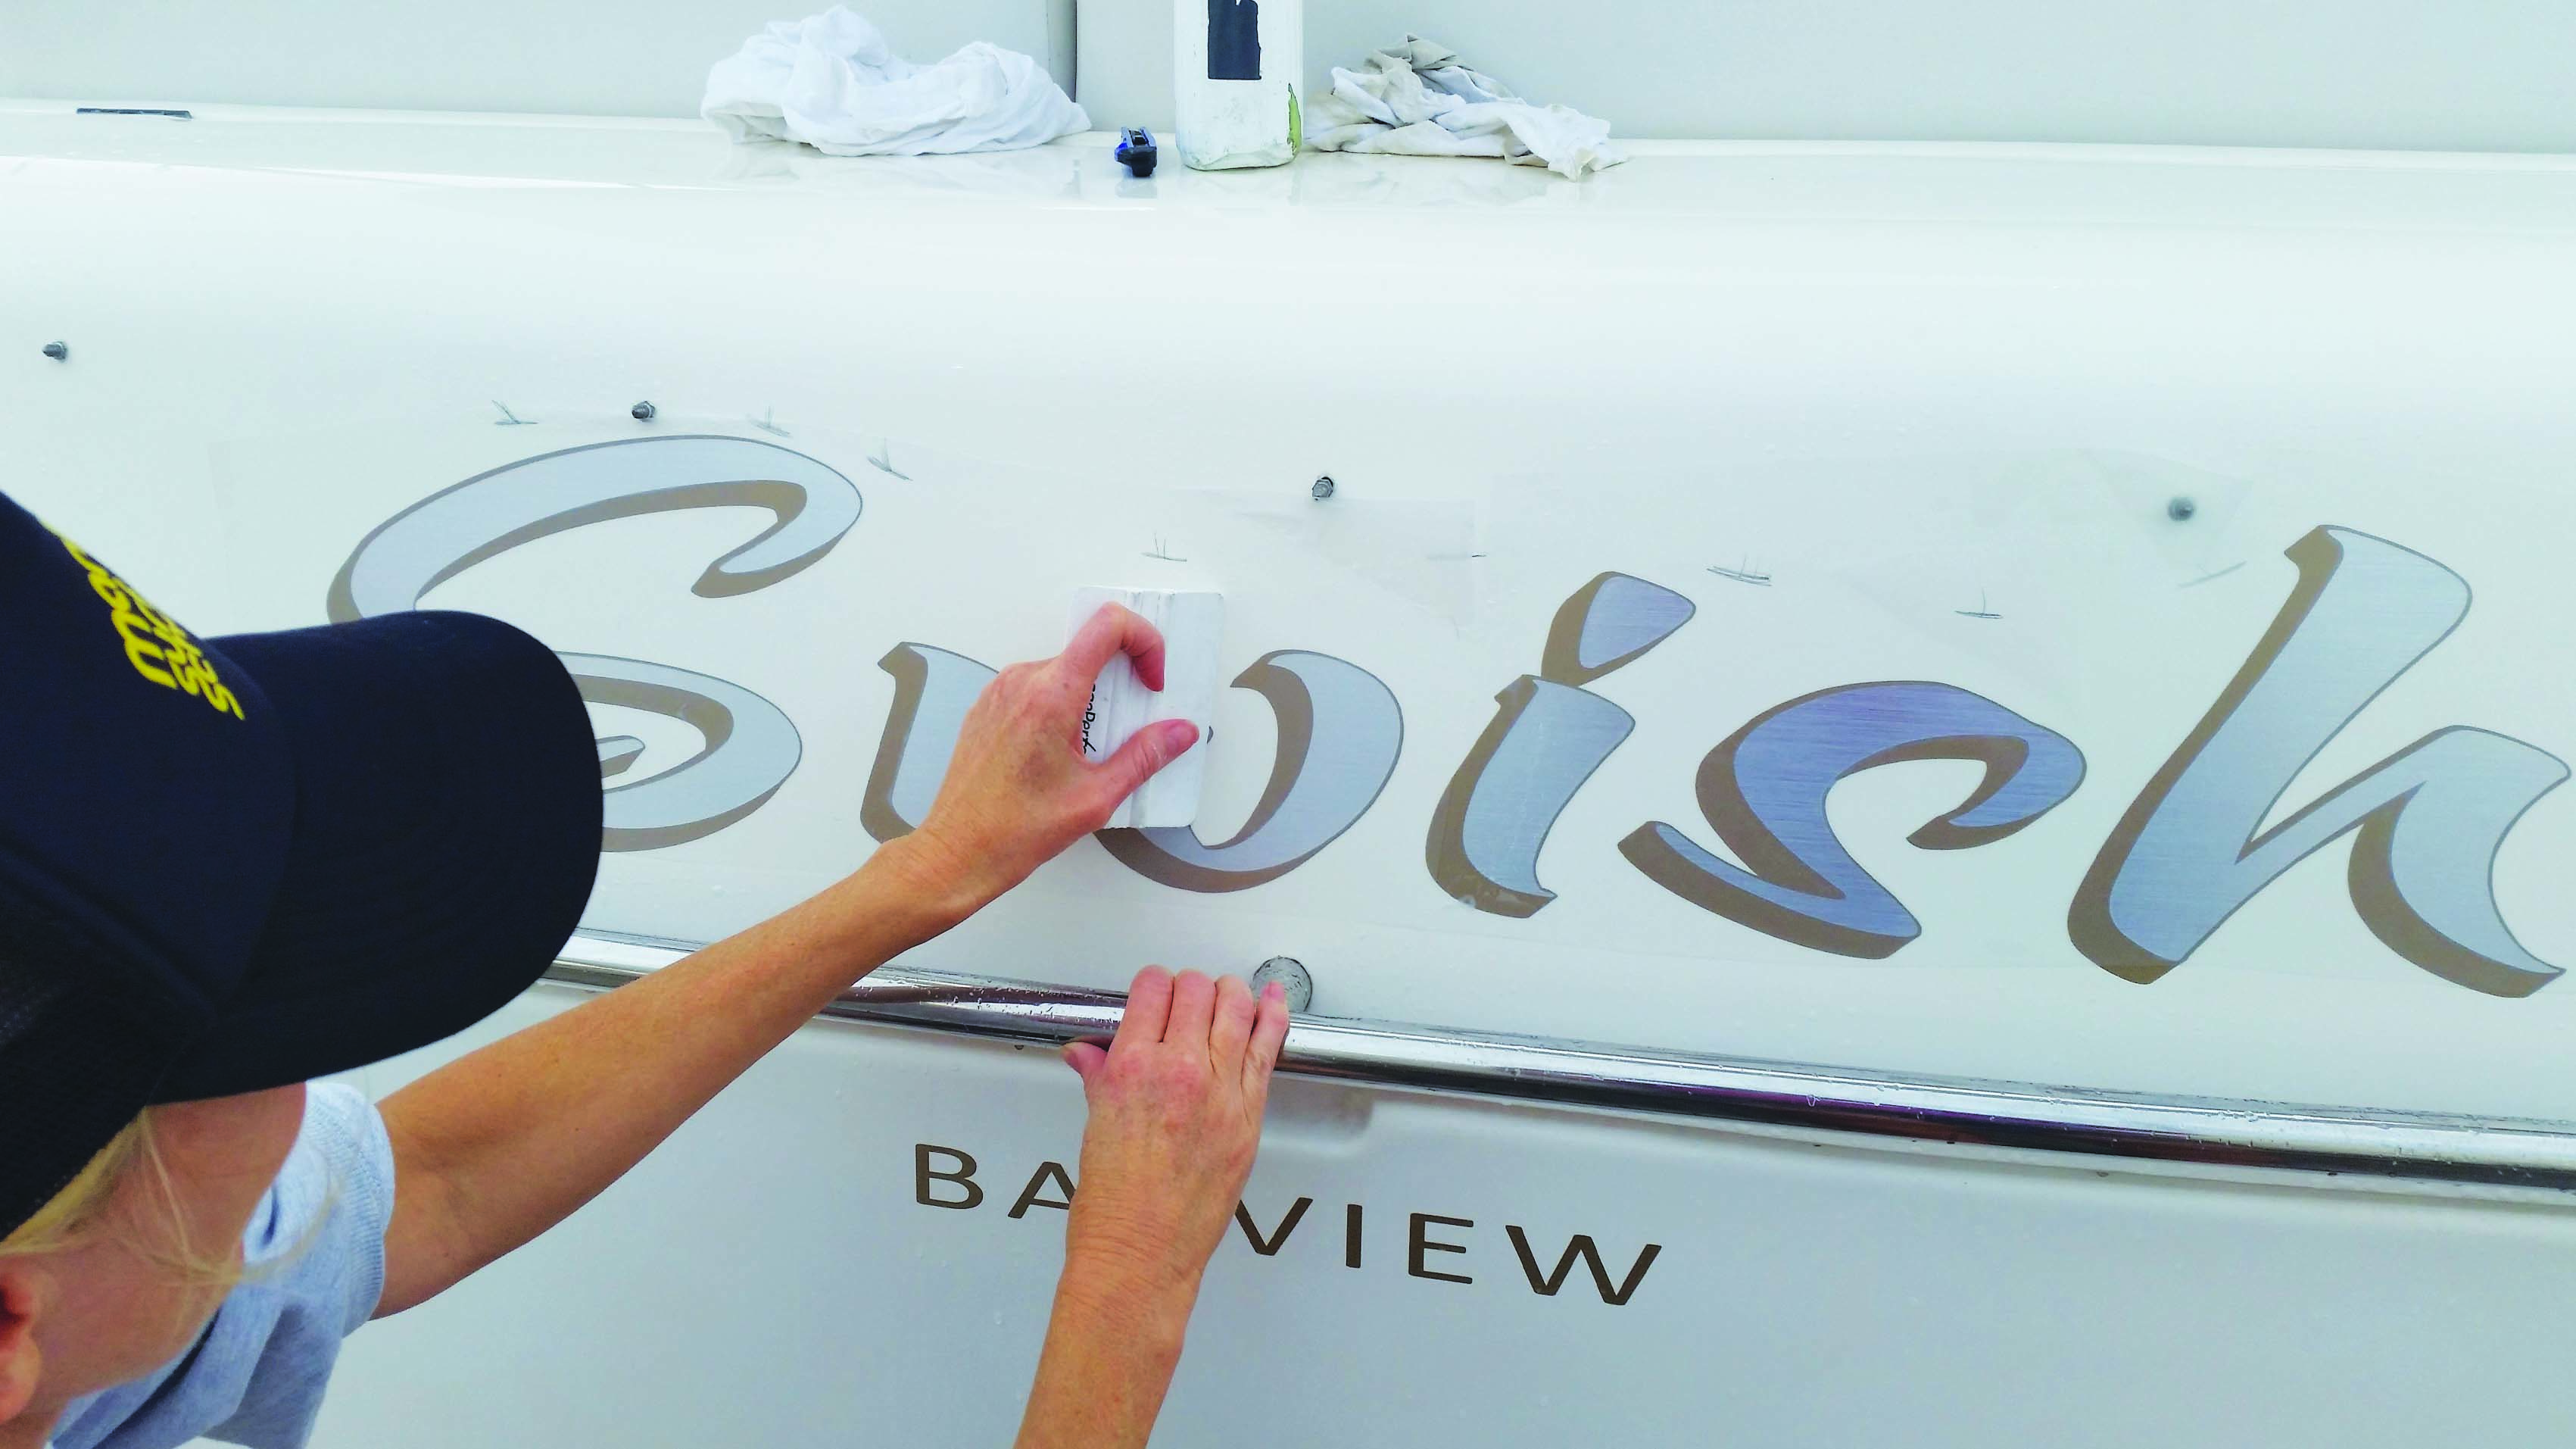
Using the squeegee, press the vinyl firmly onto the boat surface. Move from the middle to the outer edges of the name.
Remove the application material, pulling slowly. If the letters pull up, carefully squeegee them back into place and allow more drying time.
Remove the backing material from the top colour of the name. Lightly spray the adhesive side of the vinyl.
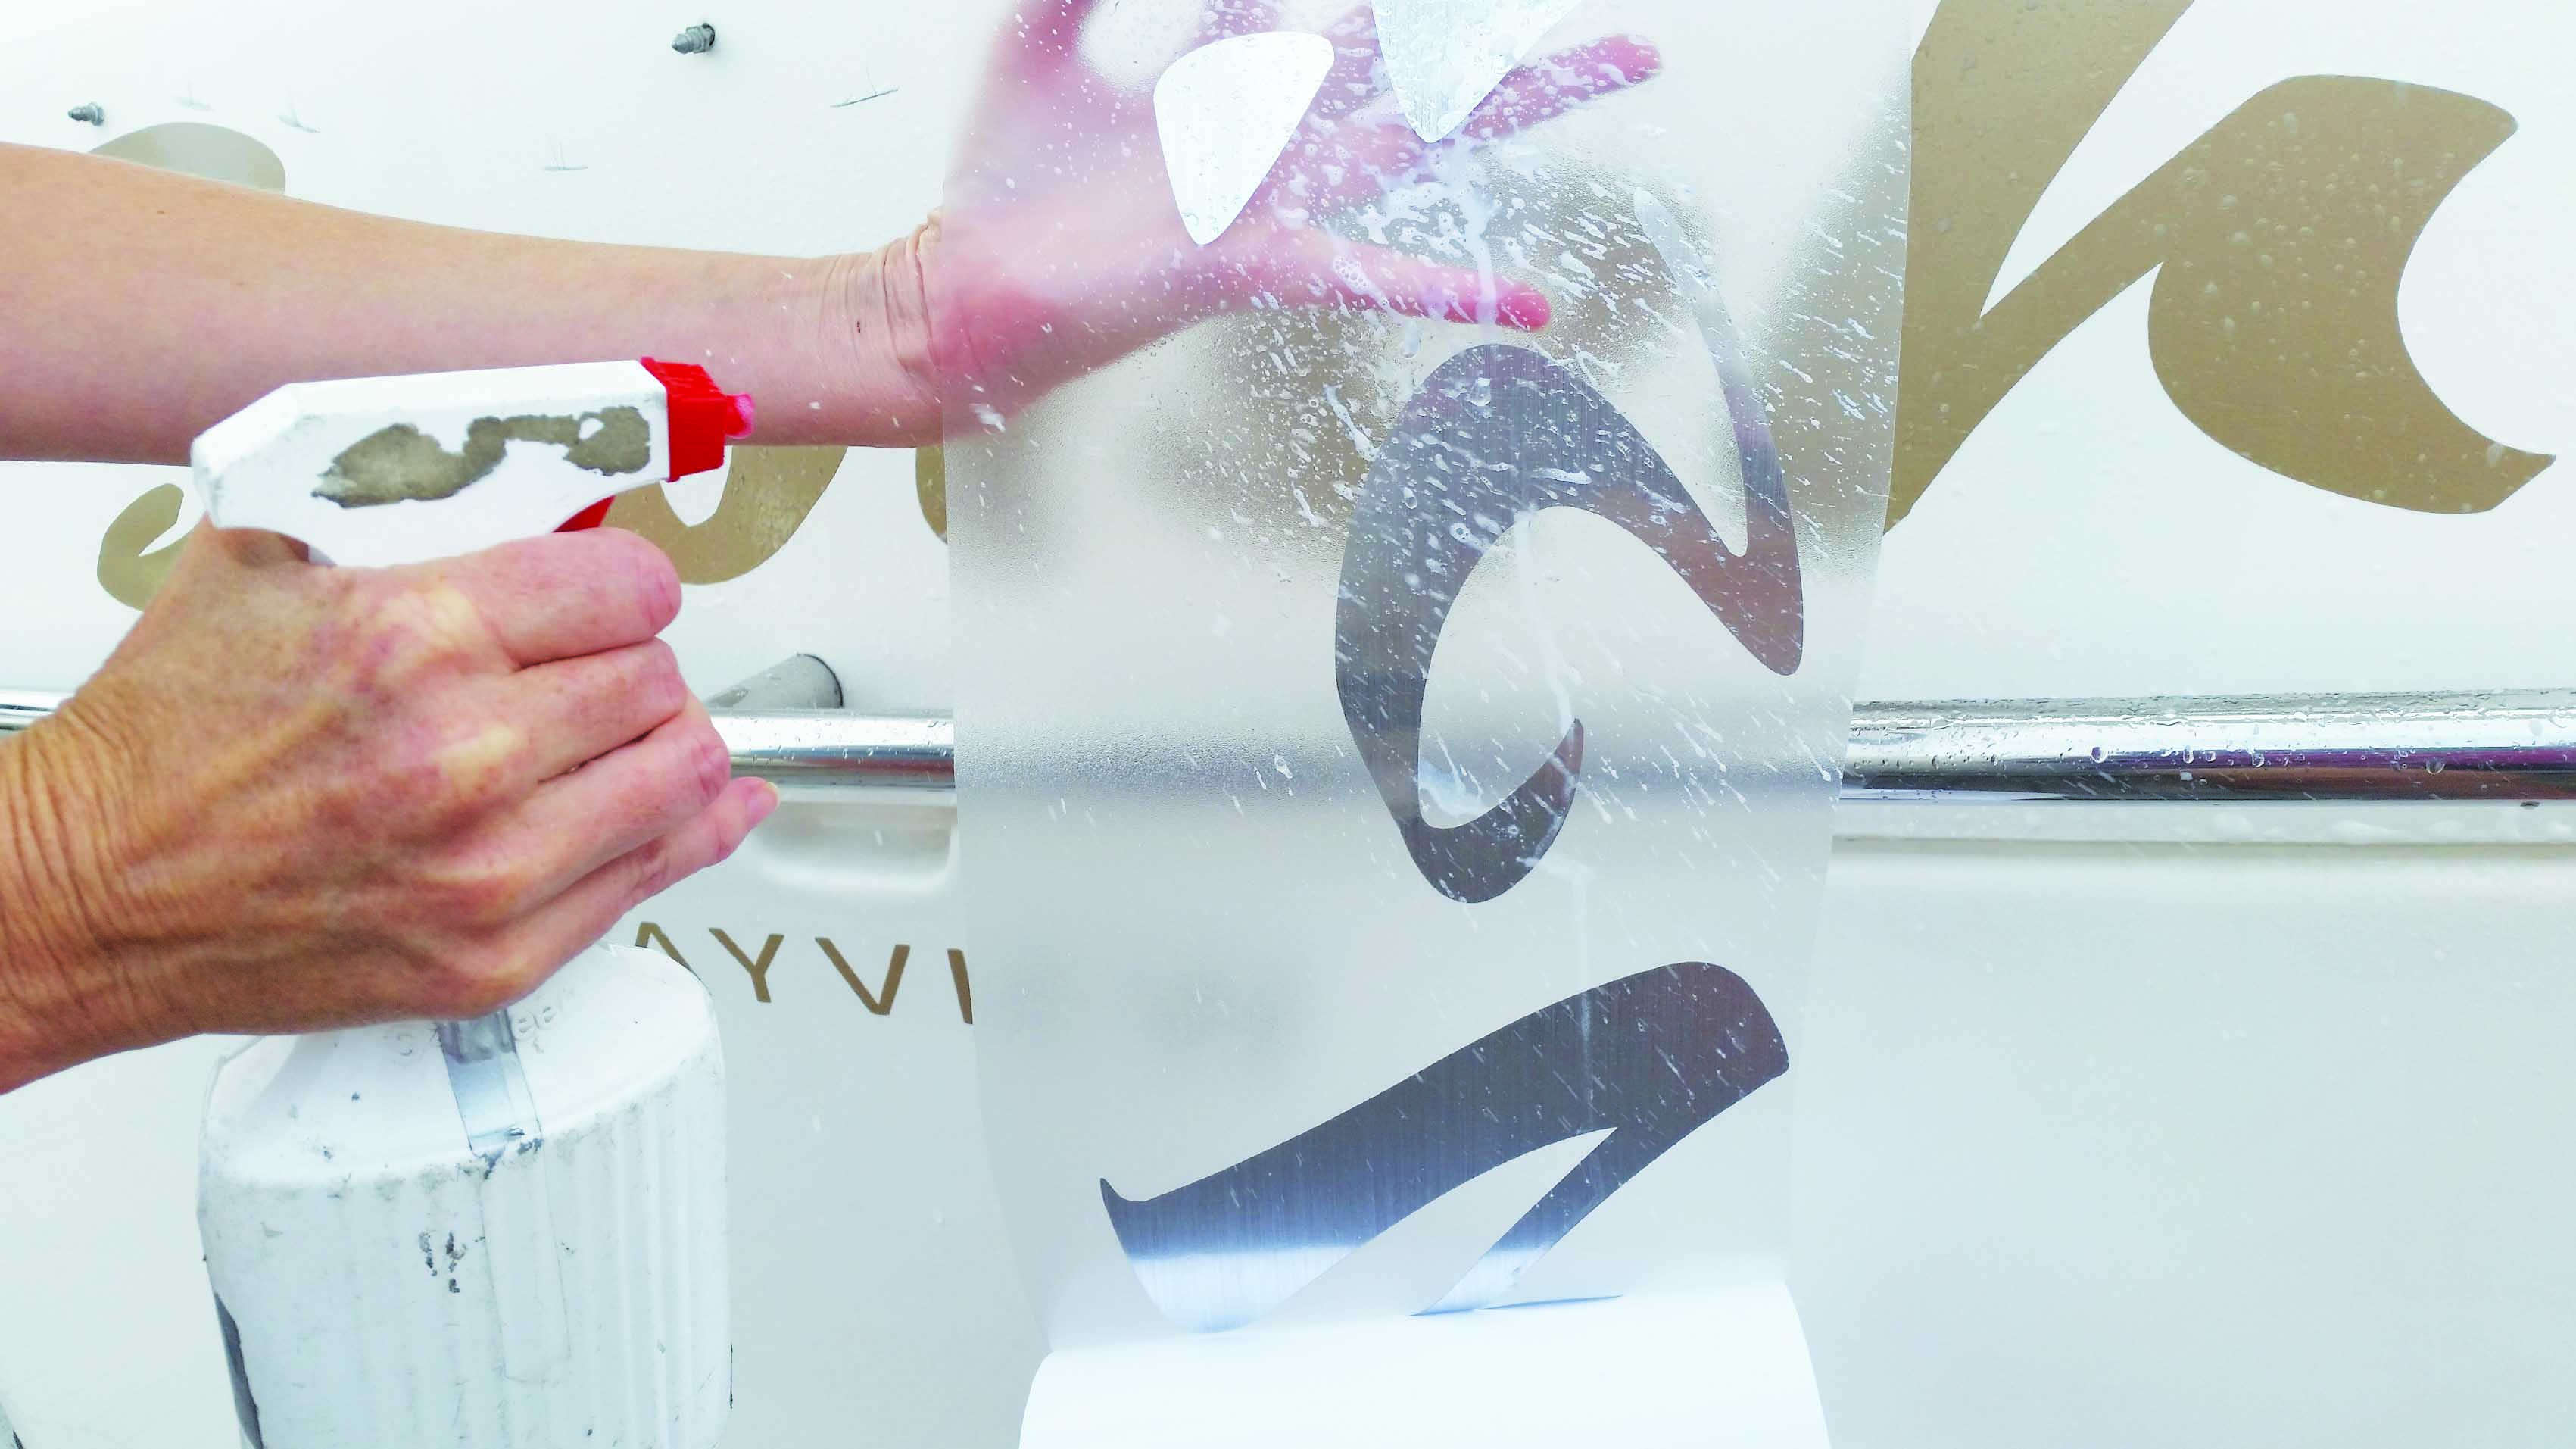
Again lightly spray the surface you are working onto.
Position the top colour over the base colour.
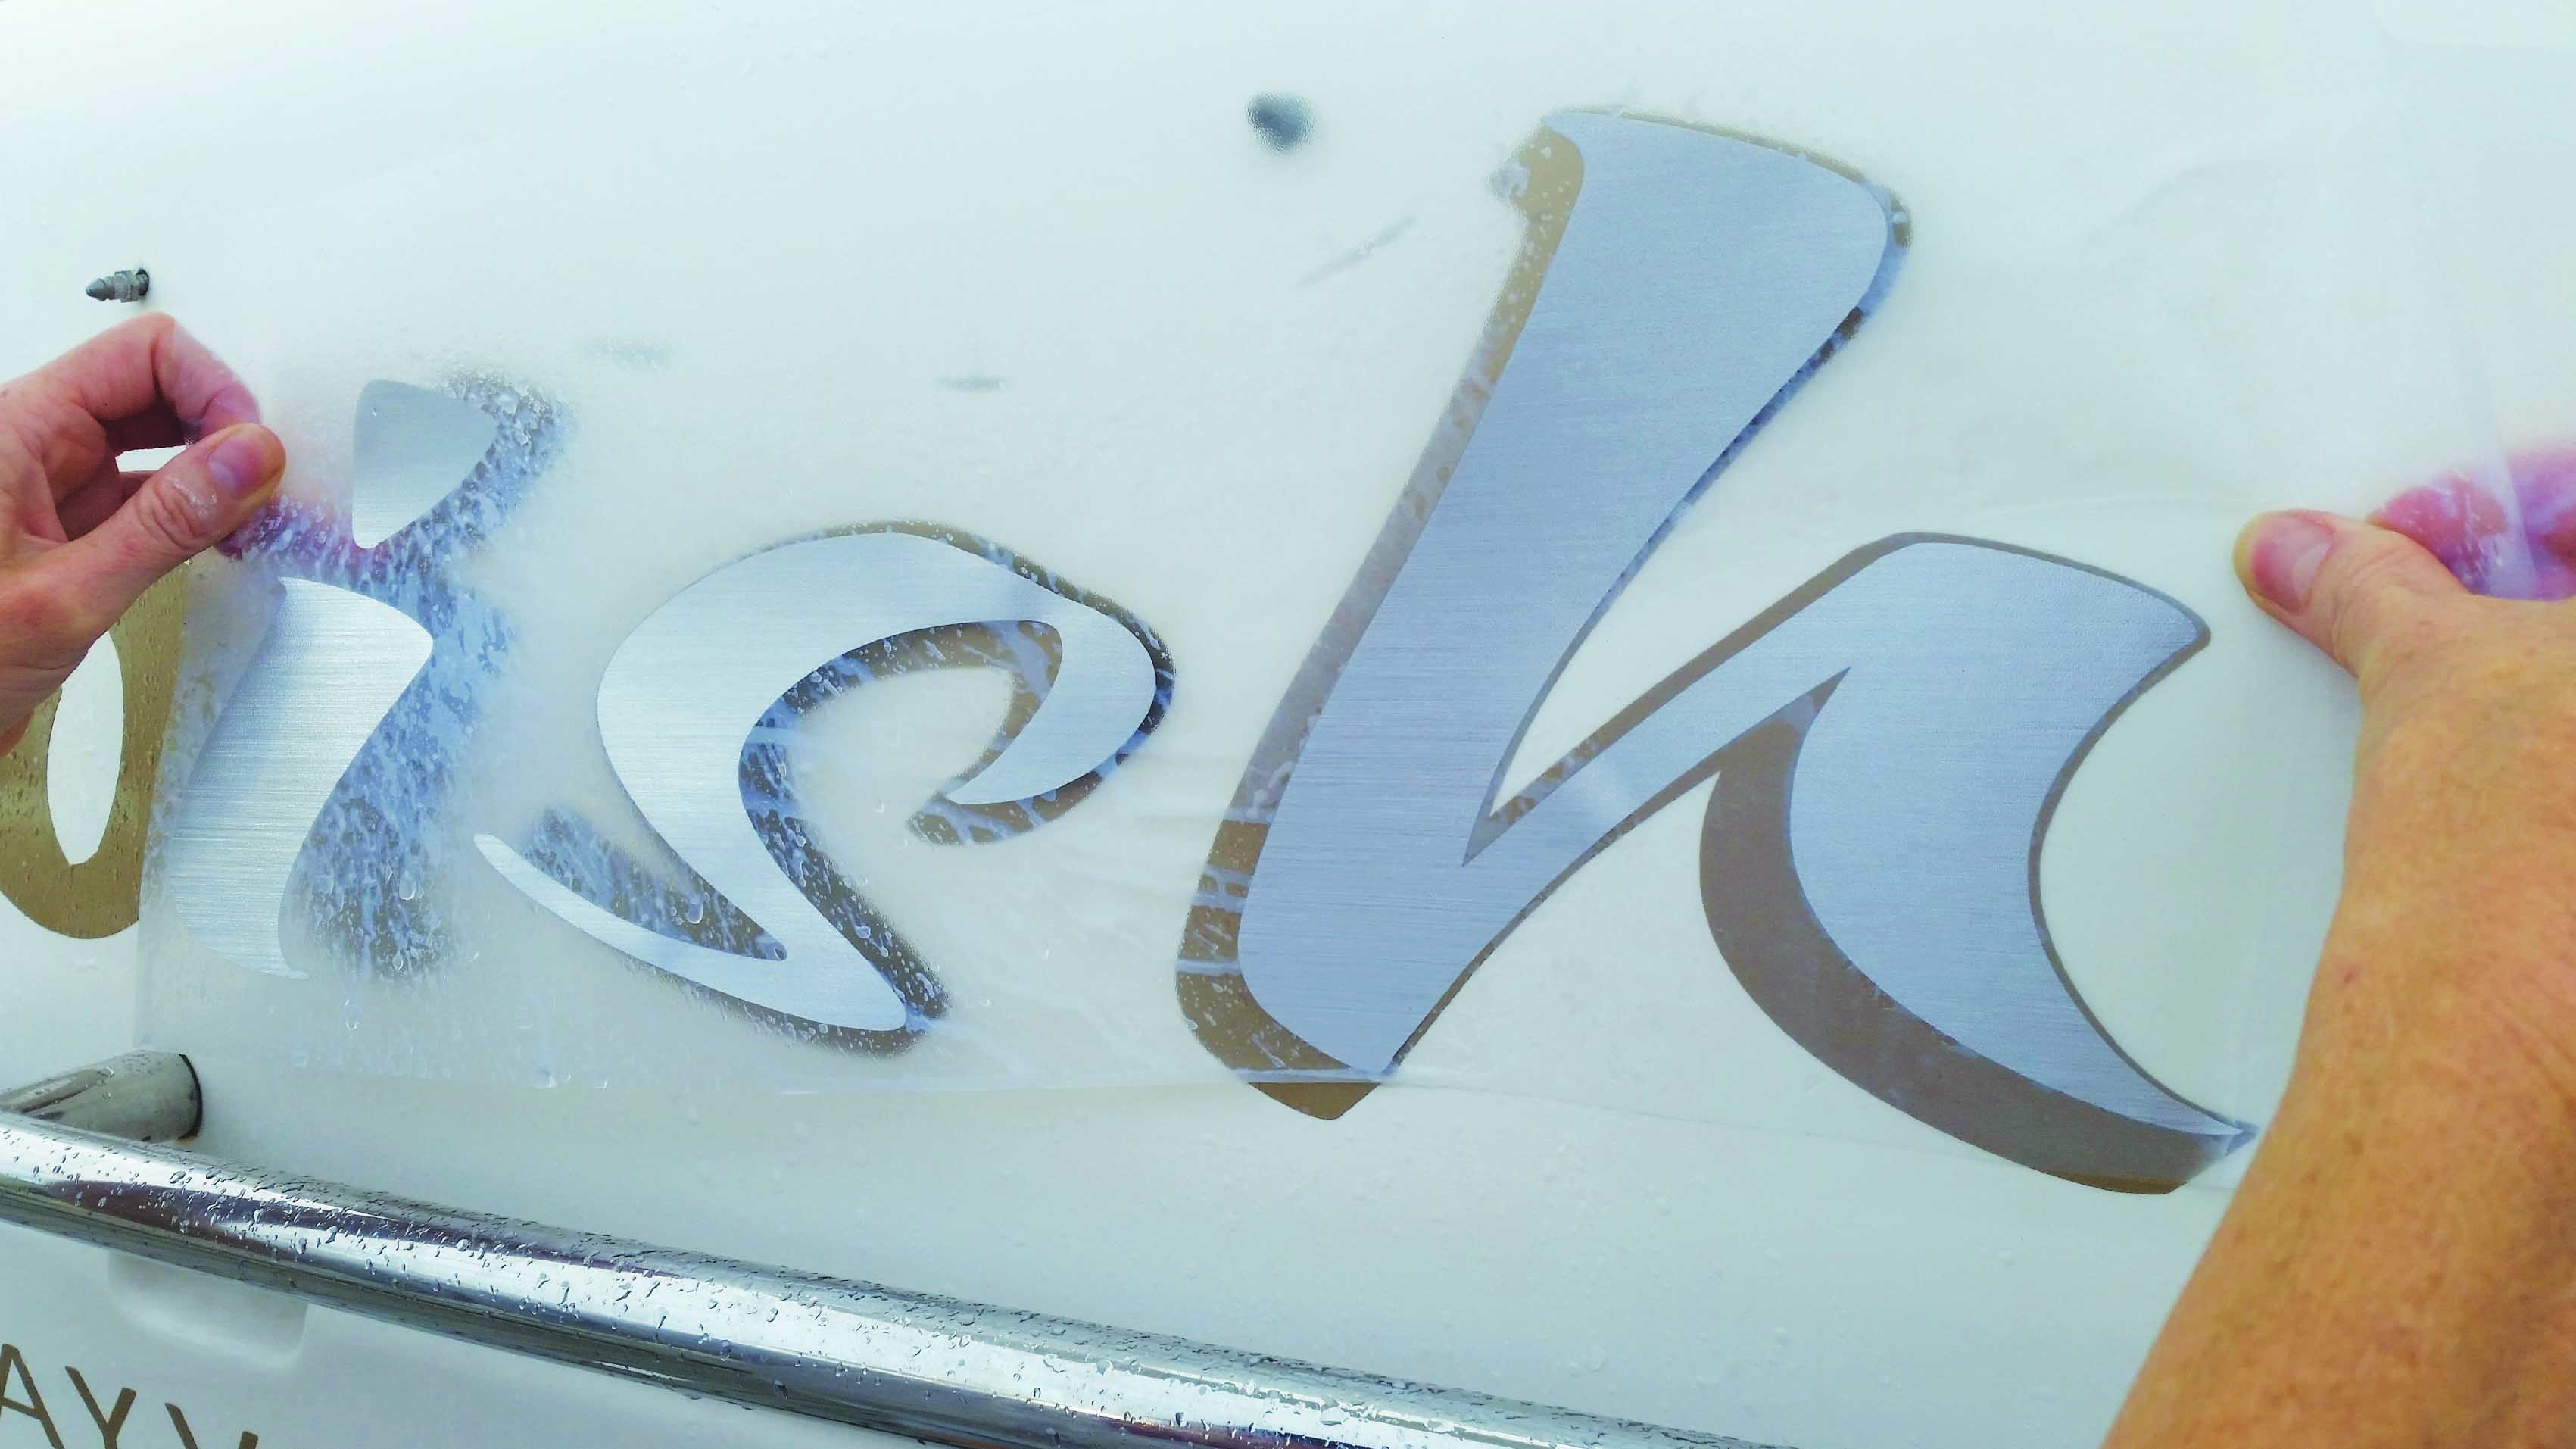
Using the squeegee, press the vinyl firmly onto the boat surface.
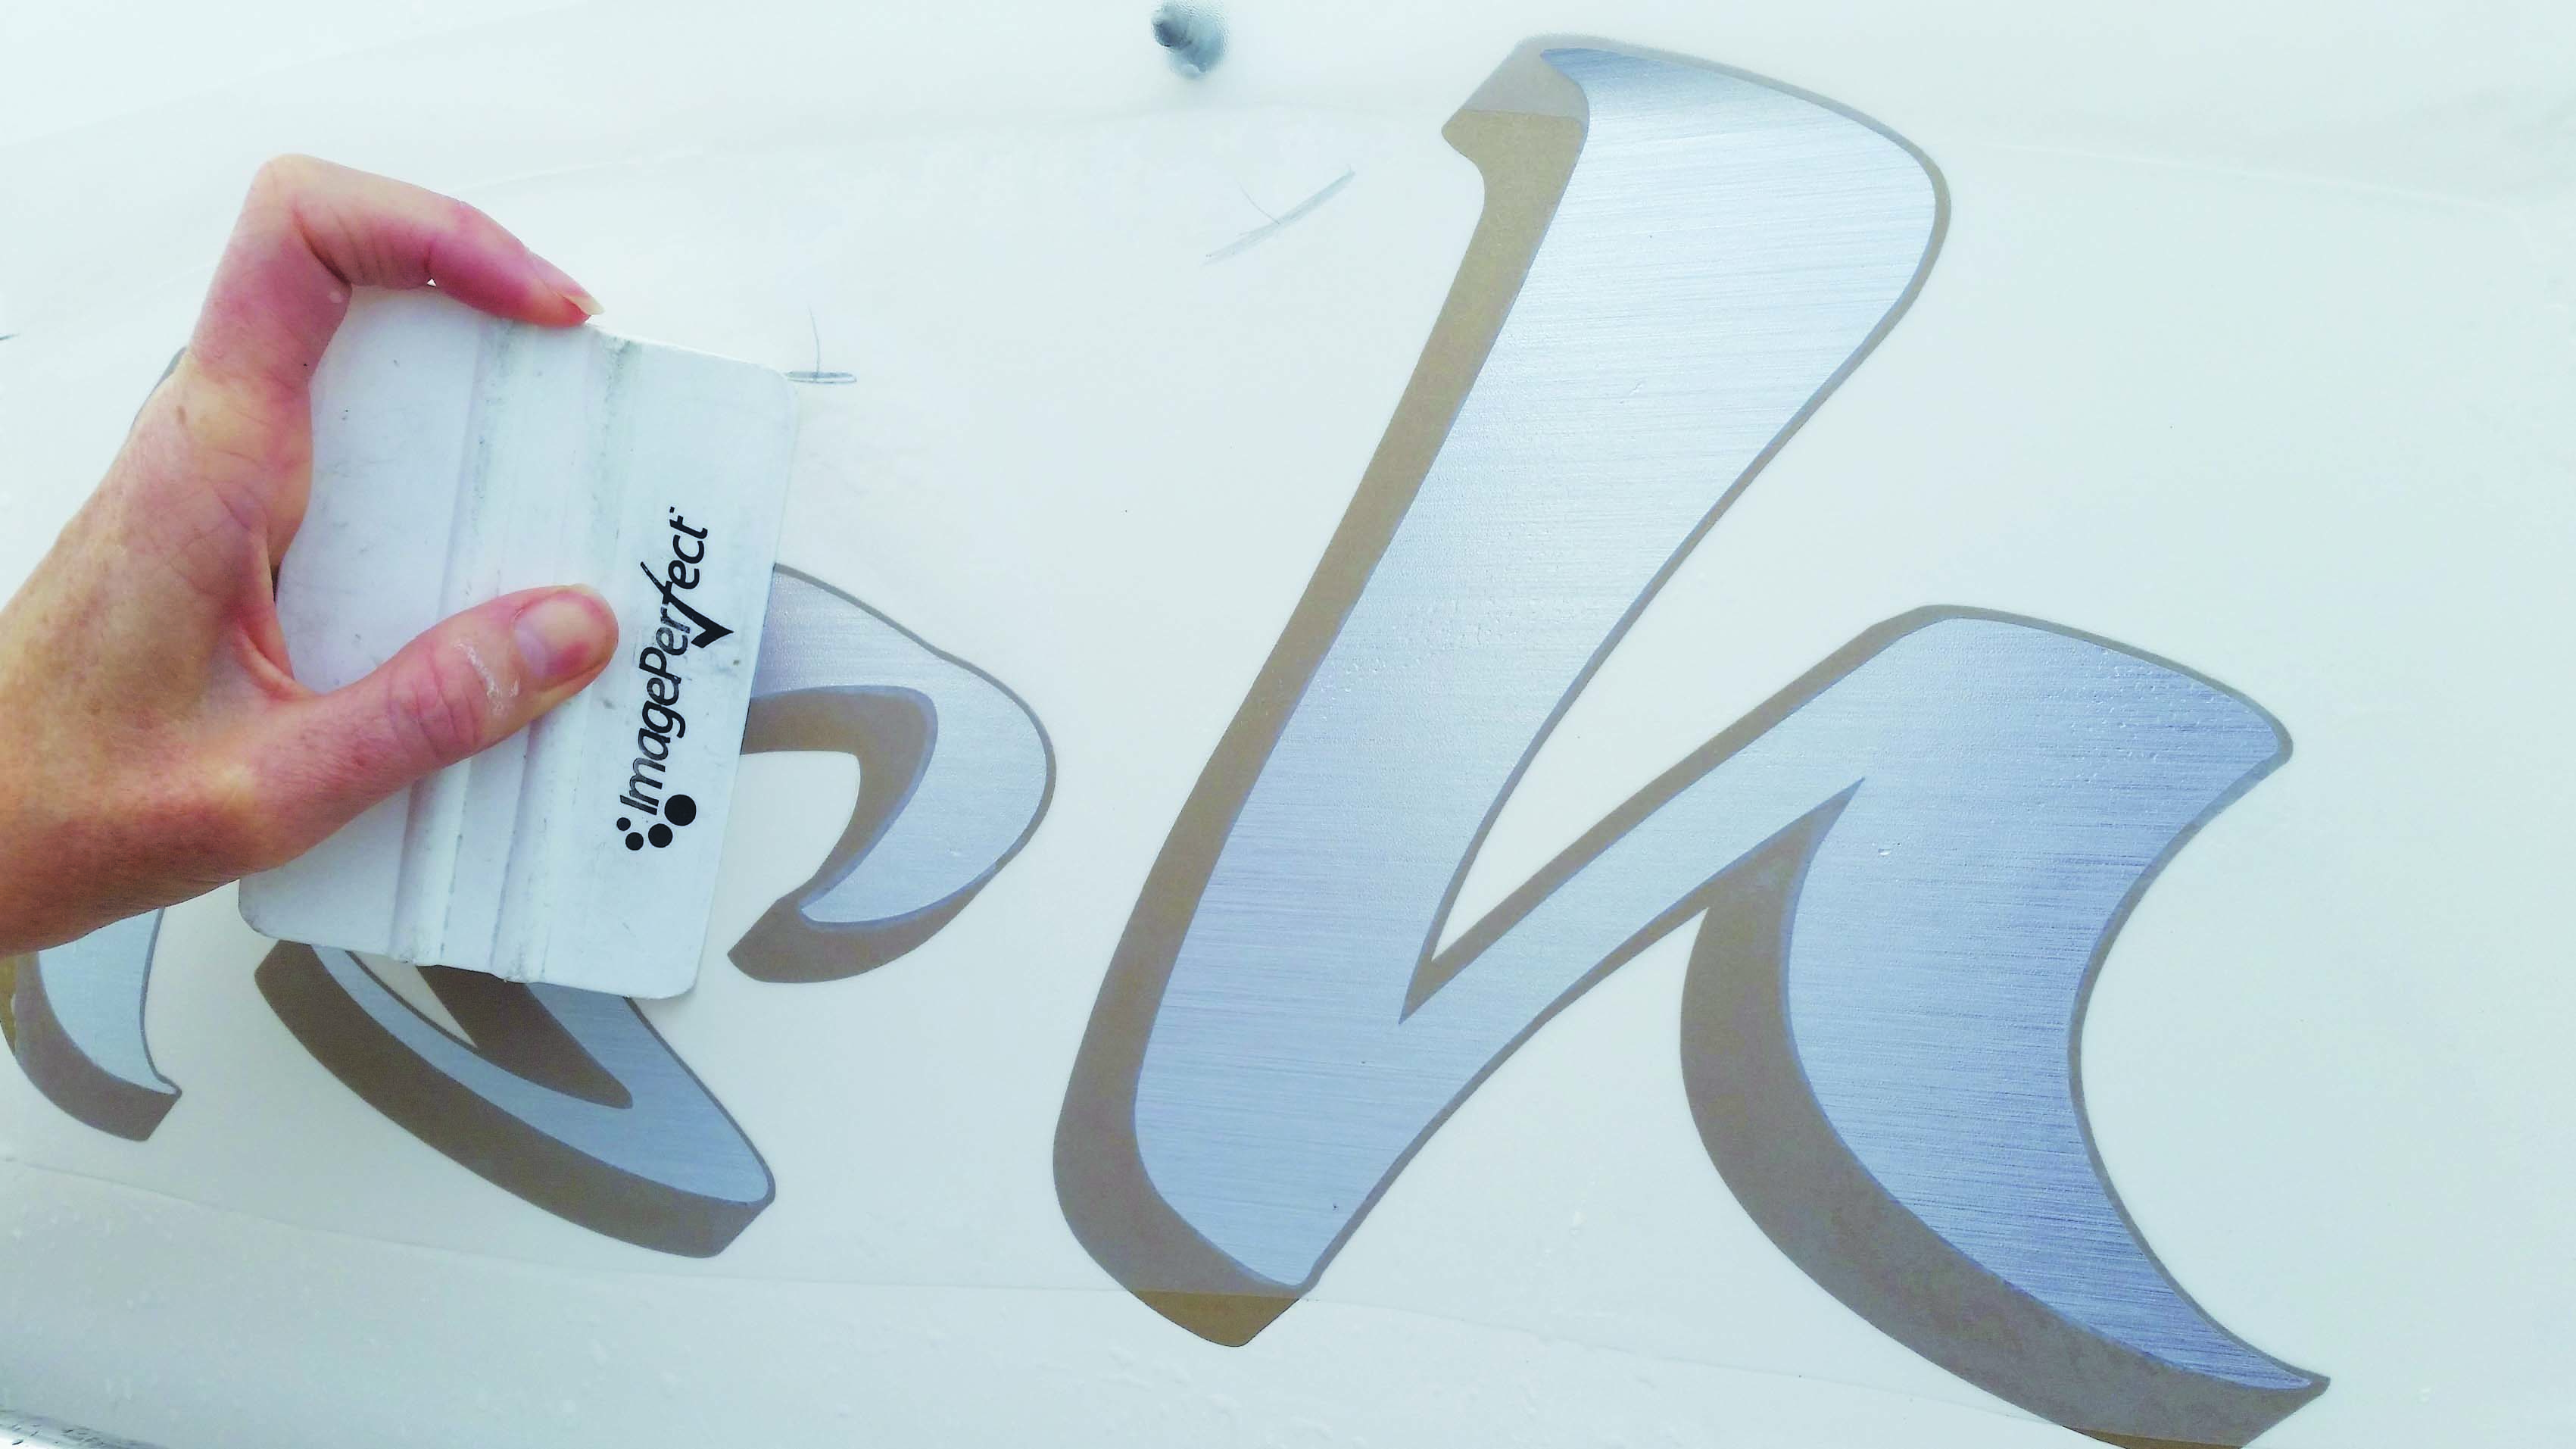
Squeegee from the middle to the outer edges of the name.
Remove the application material, pulling slowly.
Remove the pencil marks with cutting polish. If there are any small bubbles in the vinyl these will dry out over the next few days. For larger bubbles, lightly pinprick and push excess water out with your fingers.
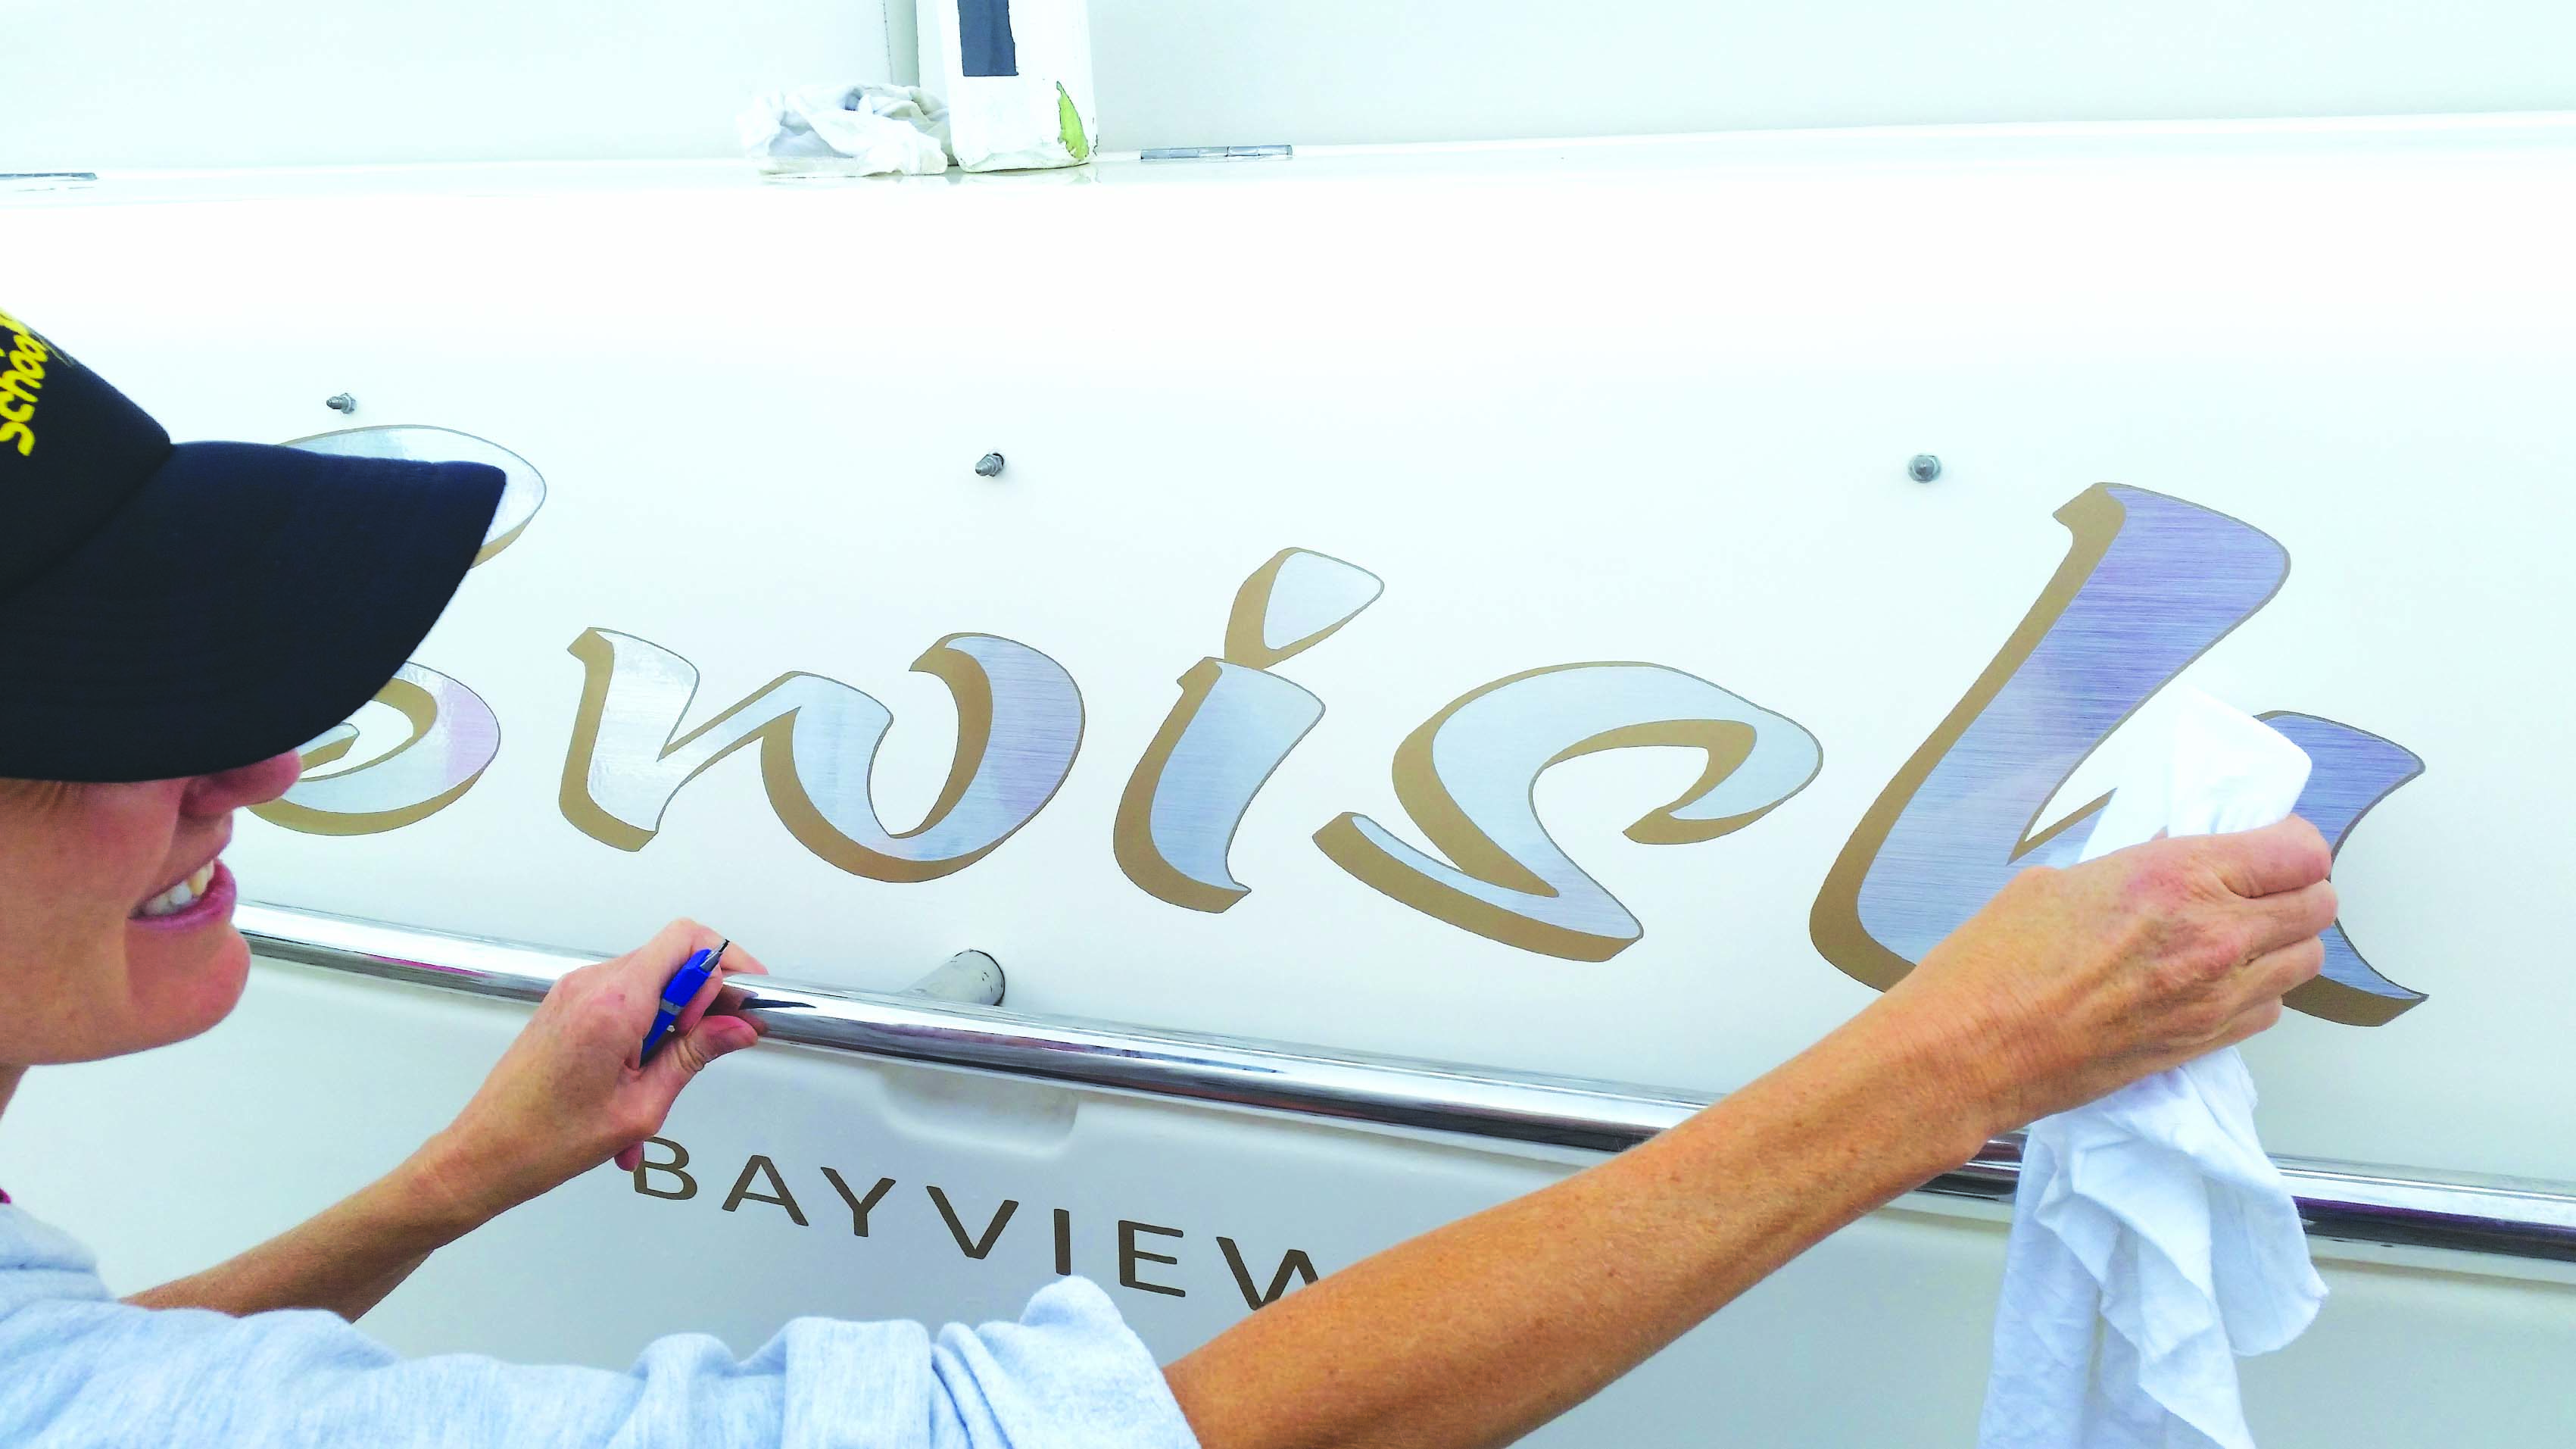
Stand back and admire your workmanship. Font used: ALPINE SCRIPT. Colours: Font is silver brushed metal with gold metallic shadow.